You will need
- Computer, additional hull cooler, screwdriver
Instruction
1
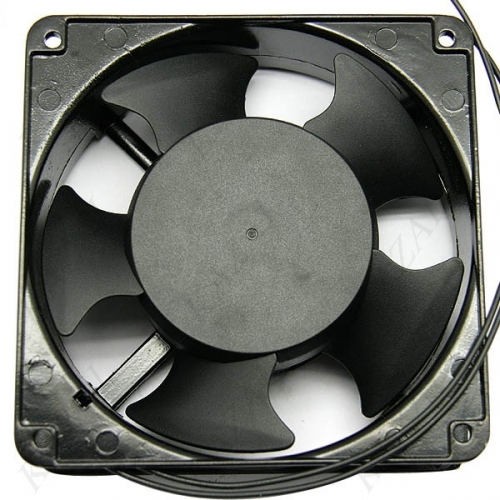
A place where you can connect the hull and the cooleris located on the rear panel of the system unit. Disconnect the computer from the mains and open the cover of the system unit. Then disconnect from the system unit, mouse, keyboard, and other devices. Now pay attention to the place, which is attached to the cooling device. There are four holes for screws. The cooler should be installed strictly in size for your system unit. Measure what size coolerand need to connect to your system unit. Usually it's either the cooler 8, or 12 inches.
2
Now install the unit inside the system unit and fasten it with screws to the wall of the computer case. To install the cooler so that it worked on blowing air, that is blown hot air from the system unit.
3
After you tightened the cooler to the system unit, you need to connect the power. Interface to connect power to the coolerlocated near the coolerand the motherboard. This is the third pin interface. Simply insert the wire from the coolerand in the interface.
4
Now close the system cover, reconnect all previously disconnected devices (mouse, keyboard, etc.), then turn on the computer. If you think that the cooler is noisy, you can make it work quietly. To do this, go in BIOS into section of monitoring. There you can select the mode coolers of the computer. If this option is disabled on the motherboard, turn it on. The corresponding function is in the BIOS.
5
Usually available three working modes the coolerextract air. The first mode is a Silent mode, is the most quiet, coolerand operate at minimum speed and almost no noise. The second mode is Optimal. The average rotation speed of the coolerextract air. The third mode - Performance with the maximum speed , the coolerextract air. The maximum noise level and maximum cooling of PC components. Select the desired mode and save the settings in the BIOS. After restarting the computer, the cooleryou will be working in your chosen mode.