You will need
- 1) the Product
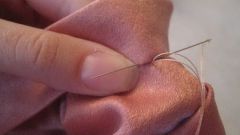
- 2) Sewing needle
- 3) Thread
- 4) Sharp scissors
- 5) Tailor's needles
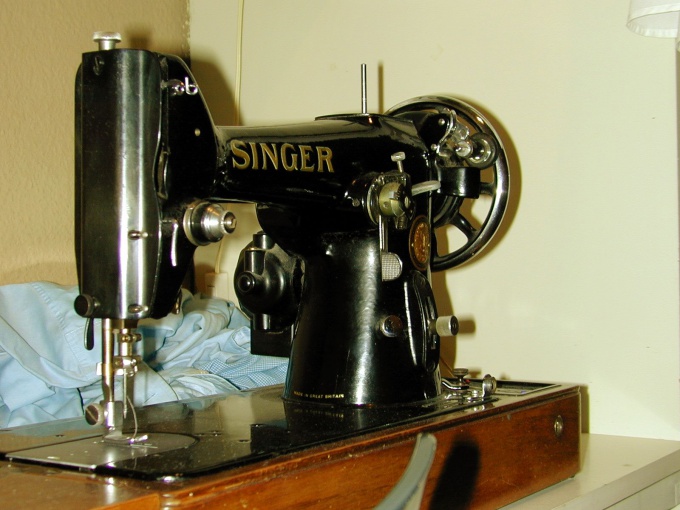
- 6) Sewing machine
- 7) iron
Instruction
1
Before setting sleeves move with the pattern of the control notches on the sleeve and armhole. Then they will need to combine.
2
If the sleeve you have set (high crown), then first complete all the seams on the sleeve and shoulder and side seams on the product. If you are sure the length of the sleeves, you can process it down.
3
Then make a landing on the crown sleeve. For this purpose between the control notches make the machine stitch stitch 4 mm at a distance of 3-5 mm from the future seam vrachevanie. You need to pull line, pulling thread, which is better runs. The Assembly must be small and uniform. She needed to flat sleeve took the form of a circular shoulder.
4
Insert inverted on the front side of the sleeve in the armhole and staple it on the reverse side of the product, aligning the reference notches. The control notch is the middle of the sleeve on the crown with a shoulder seam and the notch on the sleeve with the notch on the armhole. Chipped need positioning needles perpendicular to the slice 5-7 cm then be sure to baste the sleeve with stitches not more than 1 cm, exactly dispensing fingers fit.
5
Carefully photorite fit with steam, lightly touching her nose iron and without going to the sleeve. Vacate sleeve (connect machine stitching) on the side of the sleeve, controlling the uniform distribution of the landing. Check, even if you have turned line. If the line is smooth, lay another engine line is clearly a seam in a seam. This will ensure the durability of the product. Proutyuzhte seam of the sleeve also spout of the iron, lightly touching and not going to the sleeve.
6
If sleeve casual shirt, in which the height of the little crown, and the crown is more extended, then the processing sequence will be different. Such a sleeve is used in products casual. This way you can vacuate the above mentioned sleeve, if it is used in jewelry elastic materials without landing on the sleeve.
7
Landing is not performed, the seam of the sleeve and the side seam is not pre-processed. Align the reference notches and staple on the shear pins, as described above. This sleeve can be directly processed on the machine, not smetana, as it is non-stop. If in doubt, pre-vmlite sleeve.
8
Proutyuzhte seam stitching. Now align and seal sections of the sleeves and the side sections of the product. You should match the seam at the arm openings and the length of the sections of the sleeves and the length of the side sections of the product. Route engine line and proutyuzhte seam.
Note
1) setting a sleeve is a complicated process, even for tailors with experience. Be careful, be patient and try to be neat.
2) Clearly align the cut of the sleeves on the crown and cut the armhole of the product.
3) Suture sleeves (below) may or may not coincide with the side seam of the product in the sleeves of the first type.
4) Lay beautiful, smooth line, distance from line to seam across the slice must be the same.
5) Monitor your every step so you don't have to redo work.
6) Your effort will be rewarded with a new beautiful outfit.