You will need
- scanner;
- - Adobe Reader.
Instruction
1
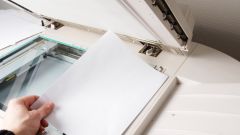
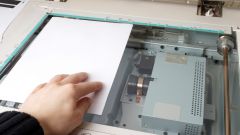
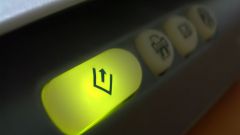
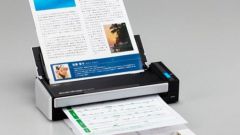
Make sure that the scanner is connected to the computer, and the device installed all the necessary drivers. Open the lid of the scanner or MFP and place the right document so that the scanned side facing down. Click the button that starts the scanning process and wait until this process is complete.
2
Some MFPs allow you to control the equipment with the help of special programs. Run this utility and click "Scan". After this process is complete, will automatically open the folder in which you saved the scanned document.
3
Some software does not store the scanned data automatically. Usually in such cases is the opening program that is designed for reading documents. If you are faced with this type of multifunction printer, after opening the scanned document, press Ctrl and S. then Select the folder in which to save the image and enter the file name.
4
Selection of software falls squarely on your shoulders. Usually for working with scanned documents use program DjvuReaser or Adobe Reader. When you configure scan settings, be sure to select the appropriate format for you.
5
Edit the document immediately after completion of the scanning process. Cut only the part that is needed. With the help of special programs adjust the image. Remove the black bars if they appeared after the scan. To ensure high quality of scanned documents, select the appropriate operating parameters of the MFP. It is better to use a color image of 8 bits, and the number of dots per inch – no less than 150.
Useful advice
If you are scanning photos it is better to use the options that allow you to provide the best quality of the resulting image.