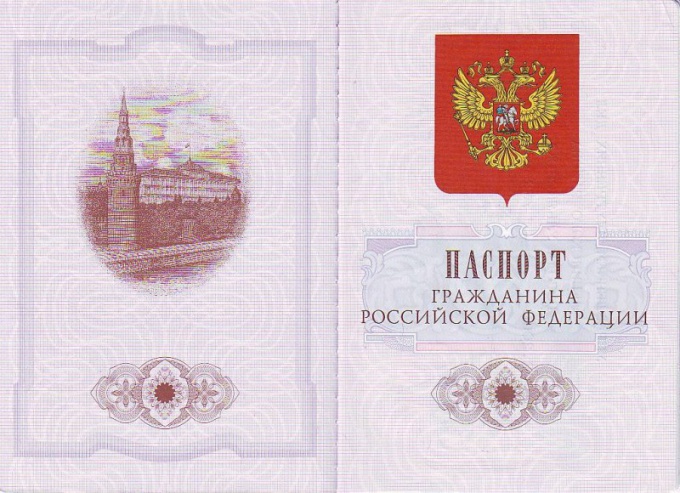
You will need
- - passport;
- scanner;
- computer.
Instruction
1
Familiarize yourself with the requirements of the site or organization where you're sending the scanned image. Get familiar with what image format you want whether recognize text in the image, what should be the minimum and maximum size of uploaded file. This is important because otherwise your file may not be accepted.
2
Connect the scanner to the computer. Check the connection under "Printers and faxes" through "settings" in the menu "start". If the printer is correctly set in the "Printers and faxes" you should see a icon with his image.
3
Open the passport to the desired page and put it on the scanner glass with the words facing down. Pay attention to marks on the scanner glass. The passport must not go beyond the boundaries marked for scan A4. To do this, move the edge to the corner of the glass, marked with a special arrow. Turn on the scanner using the button "Start". If necessary, change the settings of the scanner itself.
4
Under "Printers and faxes" double-click on the scanner icon. You will open the settings window. With it, you can specify the format of the scan. Also, if necessary, select in menu scanning with text recognition. This is necessary if you are going to further format the text. The menu also specify a desired file size and color of the scanned image.
5
Click "Scan". Do not open the document cover or move the passport as long as the scan is completed.
6
The resulting picture, save in your computer or on an external drive. Name the file so as not to confuse it with others. If you are going to subsequently send it to foreign sites, call it Latin - Cyrillic text can be correctly interpreted by the system.
7
If the image does not match, for example, requires a volume, open it in photoshop and shrink to the required size.
