To fully make use of modern scanning technology, you must configure the scanner. Fortunately, with the advent of modern USB models and operating systems configuration is often automatic, you just connect the scanner to the computer. However, in other cases, the user can also take simple steps for setting up the scanner. An exemplary sequence might be:
1. First connect your device to the computer. The operating system will try to recognize it and automatically install the necessary drivers and configure the scanner.
2. Open the Scanners and cameras control Panel. It lists all of the connected devices to your computer works with the images, and the shortcut to launch the connection wizard for new devices. If the connected scanner is already in this folder, so the connection was made successfully in automatic mode. If it is missing, run the installation wizard the scanner.
3. Manually select the manufacturer of the scanner and also the name of a specific model and click "Next". If your scanner model in the list does not, install came with the device driver disk into the drive and click "have disk". You will need to specify the path to the device driver on the disk. Normally the driver you need is the folder name which contains the model name of your scanner and the name of the operating system in which you work. If disk no drivers, try downloading them from the manufacturers website of the scanner and to specify the path to the folder in which you save them.
4. In the next step the wizard prompts you to specify the port to which you connected scanner. If you are in doubt about which port to specify, please select "Automatically detect port".
5. It remains to specify the name of the new device in the system, and the installation is complete. You can now use it from any program that supports images.
How to configure the scanner
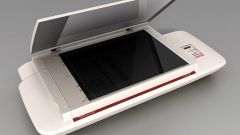
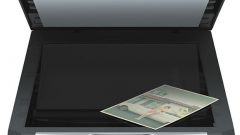
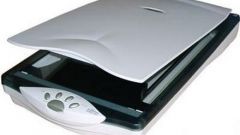
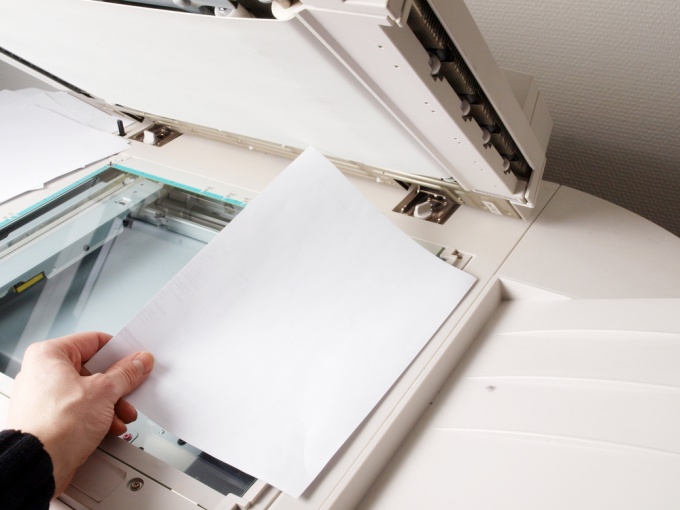
Scanner — a device indispensable for the digitization of a variety of documents, ranging from texts and tables, to photos. Scanners are constantly improving their functionality are growing, and prices are reduced so that the scanner often finds its place on the table next to the home computer.
Is the advice useful?