You will need
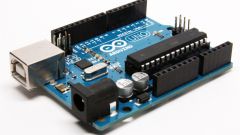
- - Arduino;
- computer;
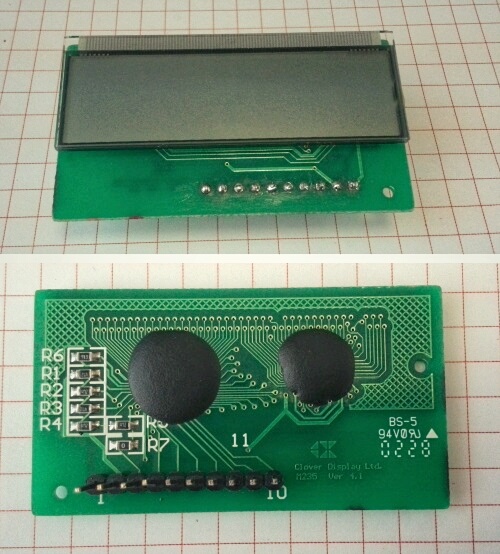
- - LCD screen Display M235 Clover;
- - potentiometer 10 kOhm;
- - connecting wires;
- - breadboard (optional).
Instruction
1
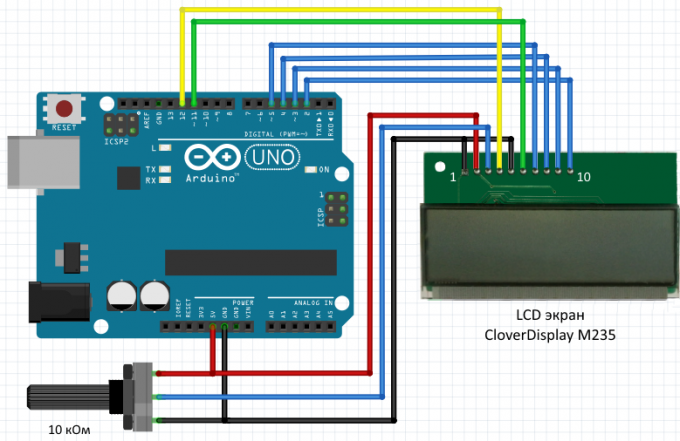
Wiring diagram LCD screen Display M235 Clover - like figure. M235 display has no backlight, but you can adjust the contrast with potentiometer 10 kω.
2
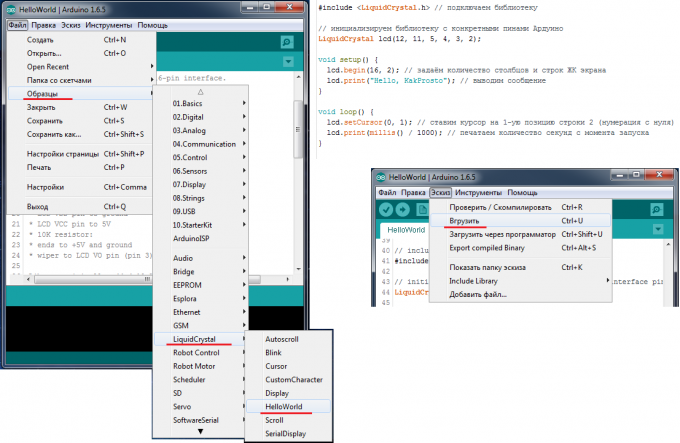
The sketch to display the message on the LCD screen M235 is shown in the illustration. It is included in the standard library of Arduino. Open the sketch via the menu: File -> examples -> LiquidCrystal -> HelloWorld. Loaded the sketch into the memory of the Arduino. In older versions of Arduino IDE download was in the menu "File", later it was moved to the menu "Sketch" (Sketch). The shortcut remains the same: Ctrl + U. After flashing disconnect Arduino from the computer.
3
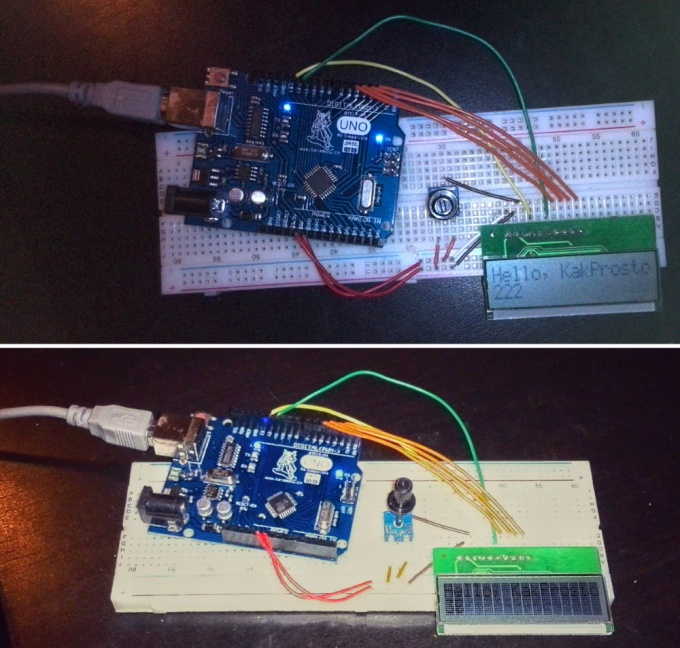
Collect the scheme on bridbord (breadboard) - breadboard. We have already discussed earlier how to work with development Board. When assembling the circuit guided by the principle: "Seven times measure, one cut off"!
When everything is assembled and double-checked, turn on the Arduino. The screen displays a greeting: "Hello, KakProsto" and counts seconds from power on.
When everything is assembled and double-checked, turn on the Arduino. The screen displays a greeting: "Hello, KakProsto" and counts seconds from power on.
Useful advice
If after turning on the diagram the inscription on the LCD screen is difficult to read or not visible, adjust the contrast using the potentiometer.