You will need
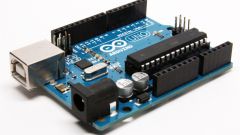
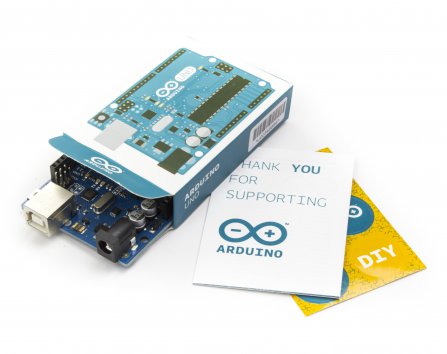
- - Arduino UNO
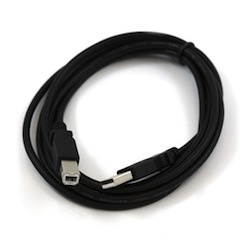
- - USB cable (USB A - USB B),
- - personal computer
- - led
- - 220 Ohm resistor,
- - pair wires 5-10 cm,
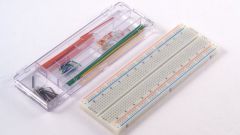
- - in the presence - prototyping Board (breadboard).
Instruction
1
Connect the Arduino Board via USB cable to the computer. Should illuminate green led ON on the Board.
2
Download the Arduino IDE for your operating system (supports Windows, Mac OS X, Linux) on page http://arduino.cc/en/Main/Software can installer, archive. The downloaded file also contains the drivers for the Arduino boards.
3
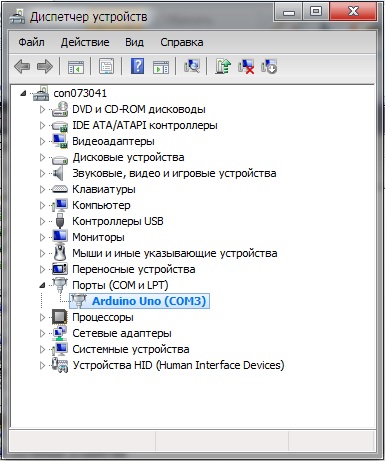
Install the driver. Consider for Windows. To do this, wait until the operating system prompts to install the driver. Give up. Press Win + Pause, start the device Manager. Scroll to "Ports (COM & LPT)". You will see there is a port named "Arduino UNO (COMxx)". Just right click on it and select "Update driver". Next, choose the location of the driver you just downloaded.
4
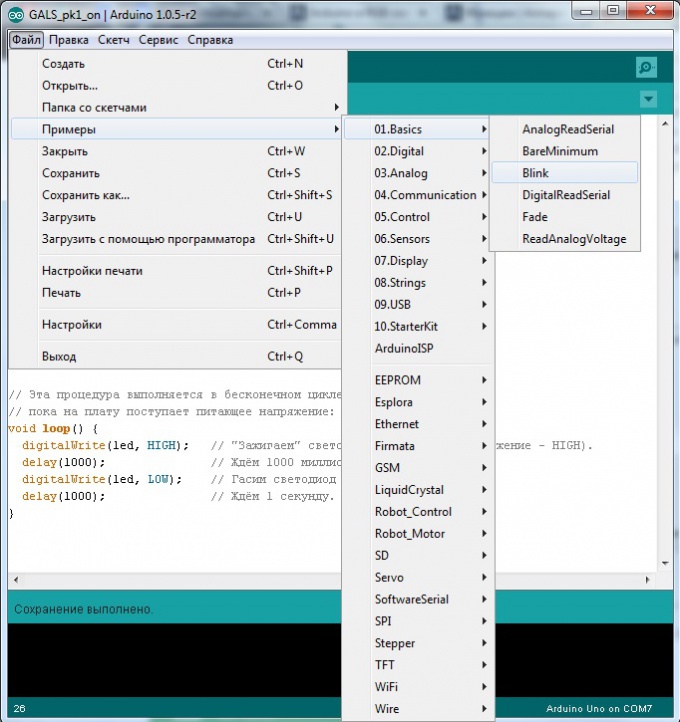
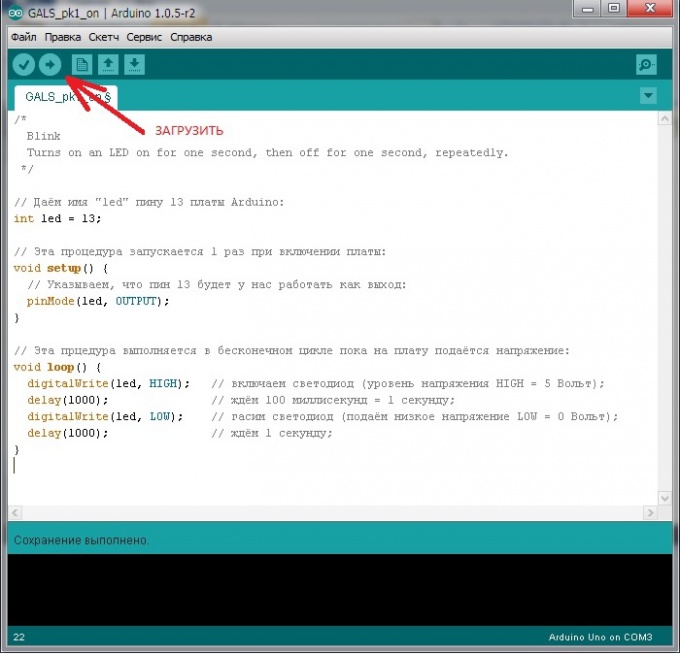
The development environment already contains a lot of examples to explore the work of the Board. Open the example "Blink" File > Examples > 01.Basics > Blink.
5
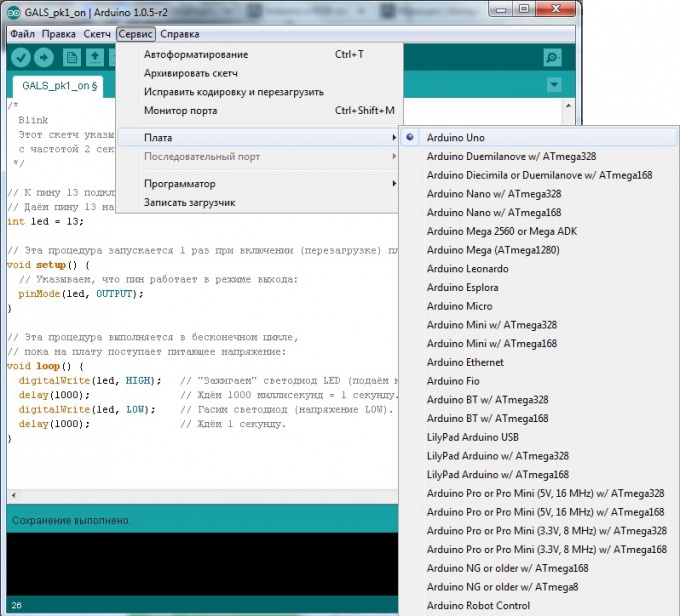
Specify the development environment its cost. To do this in tools > Board select "Arduino UNO".
6
Select the port assigned to Arduino Board. To find out what port is connected to the Board, start device Manager and look under Ports (COM & LPT). In brackets after the title Board will specify the port number. If the Board is not listed, try unplugging it from the computer and waited a few seconds, plug in again.
7
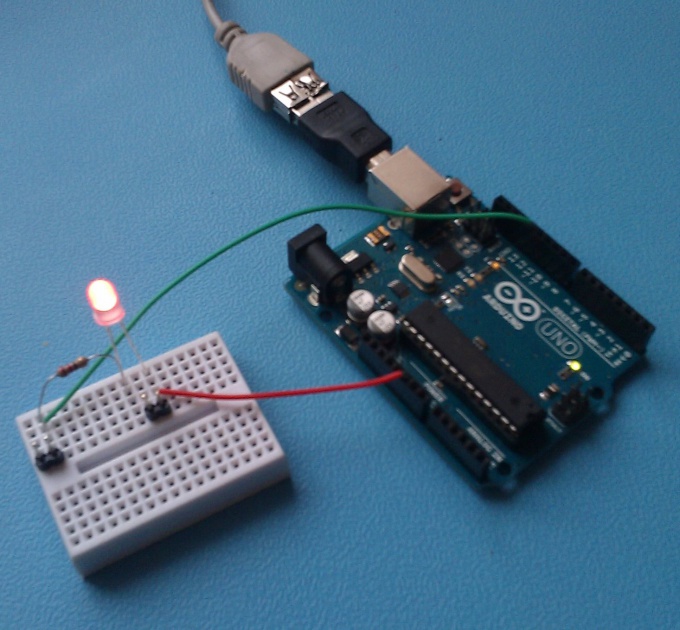
Unplug the card from the computer. Assemble a circuit as shown in the figure. Please note that the short leg of the led should be connected to the GND pin, long through the resistor to digital pin 13 Arduino. Easier to use development Board, but in its absence you can connect the wires by twisting.
Important note! Digital pin 13 already has a resistor on the Board. So when you connect the LEDs to the Board, an external resistor is optional. If you connect a led to any different conclusions Arduino using a current-limiting resistor must!
Important note! Digital pin 13 already has a resistor on the Board. So when you connect the LEDs to the Board, an external resistor is optional. If you connect a led to any different conclusions Arduino using a current-limiting resistor must!

8
You can now load a program into memory card. Connect your Arduino Board to the computer, wait a few seconds while the initialization of the Board. Click the "Download" button, and Your sketch written in the Arduino memory. Programming Arduino is very intuitive and not difficult. Look at the image in the comments to the program is a little explanation. This is enough to deal with your first experiment.
9
The led should start fun to poke you with a periodicity of 2 seconds (1 second lit, 1 off). Your first sketch is ready!
Note
Be careful when working with the Arduino Board is electronic product, which requires careful treatment. Bottom boards are bare conductors, and if You put charge on the conducting surface, it is likely to burn cost. Also don't touch the cost with wet or damp hands and avoid when working wet locations.
Useful advice
In the network there are many websites dedicated to the Arduino. Read, learn, don't be afraid to experiment and learn new things!