You will need
- - A sheet of white paper on a rigid Foundation;
- - compass;
- - protractor;
- - the range.
Instruction
1
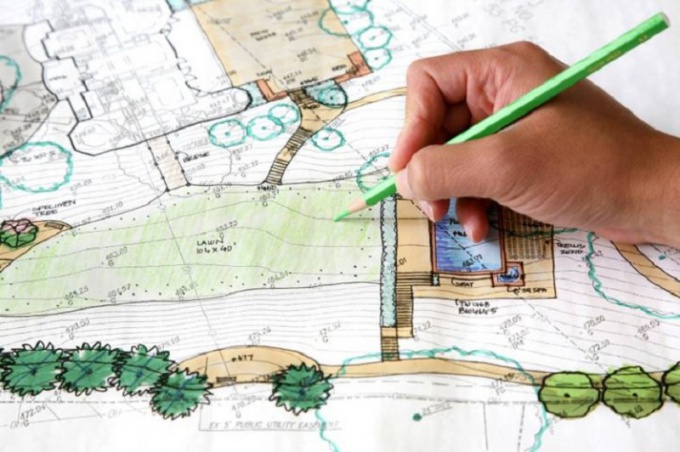
To create a topographic plan study of the special symbols that are used in order to mark their objects on the terrain – roads, utilities, buildings, hydrographic features and vegetation.
2
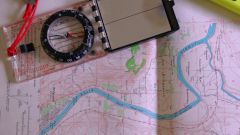
If you want to make a plan for the shooting community, choose the highest point from which to see the whole plot, on which you want to make a plan. A sheet of white paper and attach to the rigid base tablet. Select the scale you need to make the plot fit on the plan. Draw an arrow North-South and in the manufacture of plan Orient the tablet, setting it on a flat rigid Foundation, the compass.
3
Apply on the point of his standing and with a ruler, apply the directions on the objects of interest and major landmarks located in this area. These include water towers, pipes, detached buildings and trees, bridges, crossroads.
4
The direction for each such point, measure the azimuth angle between the North direction and the direction of the object. Put it in the plan with the help of the protractor. In this direction, note the distance to each point in the selected scale. It is possible to measure by steps or pairs of steps and then translate into meters and centimeters, corresponding to the selected scale.
5
The main points selected as references, reflect on the plan of those conventional signs which correspond to them. Look around the area carefully and apply the step-by-step measurements or the location of other objects that you want to see on the plan – linear features: rivers, roads, vegetation boundaries, fences. There you can mark the ravines, pits, or hills, hills, with approximate indication of their depth or height.
6
On the plan and label the scale and all necessary and facilitate orientation names and titles, top write the title plan.
Useful advice
As a convenient and accurate underlay you can use space images high resolution, printable maps services Google Earht or Yandex Maps.