You will need
- - spray gun (puller gun);
- - sandpaper;
- - rags;
- - solvent;
- - putty;
- - spring-loaded spatulas;
- - the capacity to ground;
- - hardener.
Instruction
1
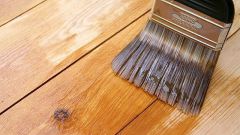
Before starting work put on the car body the rags moistened in solvent (650), and wait 20 seconds. If the surface has no wrinkles, then you can go to the primer, but if they are – the car should be cleaned from old paint. Remove it with emery paper 180 and with the appearance of metal with emery paper 240.
2
Then wipe the surface of the body from dust, degrease where necessary pospolite. Take a springy spatula and apply putty across the defect, and then align along. Wait until the putty will dry, and then power trowel it with sandpaper 180 or 240. Recheck the surface of the body for scratches and irregularities. If any, remove them with sandpaper. Now you can go directly to the primer.
3
Mold soil into a container and stir it with a clean stick. Next, mix it with thinner and hardener, according to the proportions indicated on the package. The mixture also mix, but with another stick.
4
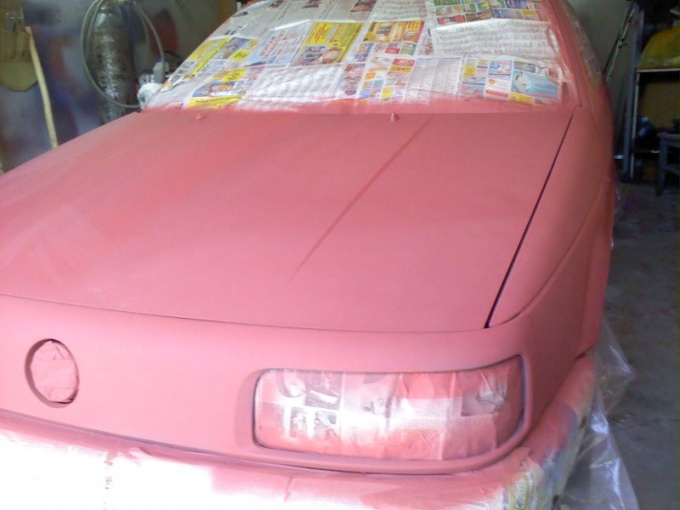
Cooked ground pour into the spray gun and adjust the power of the torch. To conduct the priming machines will be enough pressure to 3-4 atmospheres. Before you Prime the car, be sure to practice on any surface (wall, plywood). When you see that the soil forms a layer, you can go to the car.
5
Start from the edge and keep the gun at an angle of 45-60 degrees to the side, where there is no soil. Gratuite parallel strips so that they overlap each other halfway. After the primer, wait 15 minutes until it dries, and if necessary, you can apply the same pattern the second layer, which will be perpendicular to the first. Now the body is ready for painting.
Note
The room for the primers should be spacious and clean to a maximum access to the machine.
The car can be applied up to three layers of primer.
The car can be applied up to three layers of primer.
Useful advice
Do not prepare large portions of primers, for example, on one wing is enough for 150 grams.