Instruction
1
Treat the edges of the canvas, on which drawing. Run a line of zig-zag on the sewing machine along the edge of the product. Make sure the thread didn't pull the material of the canvas. If no sewing machine, apply a thin brush PVA glue on the contour of the material and leave for two hours to dry.
2
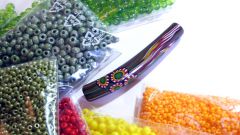
Pick threads for embroidery. Apply floss available for drawing on the canvas. Make a holder for thread. For this piece of cardboard a hole punch punch holes according to the number of used shades of floss. Place them cut threads. Alternatively, you can use floss, fine wool or silk threads.
3
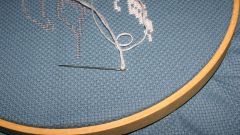
Place the fabric in the Hoop. Using this device will not allow the deformation of the fabric during embroidering. Do not tighten the Hoop too tight, so the picture is not skewed.
4
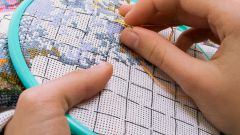
Start embroidering. Separate the required number of strands of floss. For canvas Aida 14, use 2 or 3 strands. Start embroidering with solid plots. Be careful that the closing stitch of each cross was laid in the same direction. Move the Hoop on the canvas to embroider area was in the middle of them. For a more gentle transition of color on the faces and hands of the people, use melange yarn. To do this, take two shades of floss used for the embroidery such as the face. Separate one thread of each color, connect, pass the needle and embroider the transition area between the original shades. This will make the picture more realistic, without abrupt transitions.
5
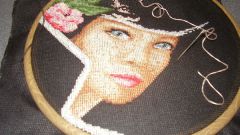
The finished embroidery wash in lukewarm soapy water, rinse, dry. Do not worry if the water in which you washed the product is stained, it's with the canvas coming off a pattern. So that the embroidery has not changed color, add the soap and table salt. Iron the garment with the iron, putting it on the flannel Mat face down. This will allow the crosses to remain three-dimensional.
Useful advice
Do not wash the finished product in hot water, thread can shed.