Instruction
1
Prepare the necessary hoops, embroidery floss, outline for counting the embroidery needle with a blunt nose for embroidery cross and scissors. I usually start to embroider from the left corner, but as mentioned above, you can choose from.
2
Process in Photoshop, selected the photothat you want to place in the scheme of embroidery. Trim the excess, increase the sharpness and saturation of colors. Further, in the computer menu, select File, then follow the command to Import the image, then - Import into the new system and load the desired photo Pattern Maker.
3
The setting Method is convert your photo into a stitch patternby clicking the Size, specify the size of the future picture in inches and the size of the stitch. Menu the column Color set for the type of threads and the desired number of colors used. Select Foreground or part of the image that will be embroidered and the background or those parts of the pictures to transfer onto the fabric you won't.
Click the Import button. Get computer processed the finished project-a scheme for embroidery.
Click the Import button. Get computer processed the finished project-a scheme for embroidery.
4
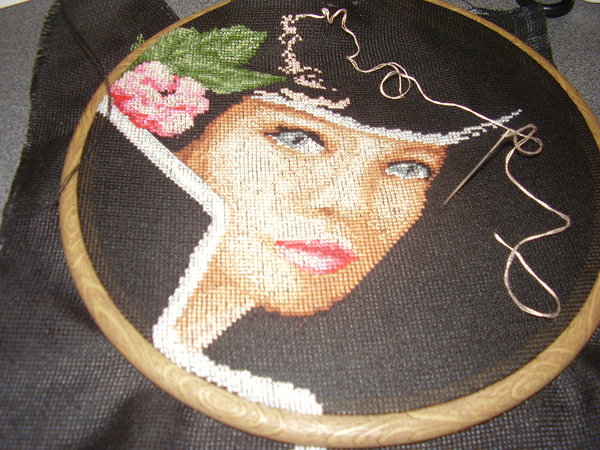
Start the embroidery. Fix the threading, bearing in mind that knots, ties, banners nor on the front of the work, or on the wrong side. To do this, take one thread from the threads, fold it in half and through the formed loop to secure the thread.
To run cross, withdraw the needle in the upper left corner of the square and make a diagonal stitch to the bottom right corner. If the figure you need to perform, for example, in a series of three cross-stitch, sew three stitches, and then do the top stitching crosses in the opposite direction. Note that they must be in the same direction.
Continue to embroider on the scheme. Follow the thread tension, do not allow ties.
5
In the end, be sure to secure the thread. On the reverse side, divide strands and individually secure the stitch. And then print it on the front side and hide under the cross. Cut the excess thread.