You will need
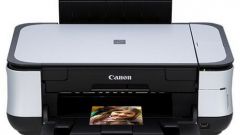
- Computer, printer series Canon pixma ip cartridge
Instruction
1
Note that subsequent information will relate specifically to replace the cartridge on the printer. If you have a device "three in one", replacing the printer, scanner and Fax, this method will not work, because in different models of these devices may be different specifics of replacement cartridges.
2
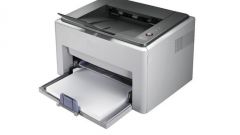
The process of replacement cartridges, many printer models are about the same. Further action will be considered on the example of Canon pixma ip series. Turn on the computer. Run the printer software. To replace the cartridge, you can without it, just this way you can adjust the process control of ink. Connect the printer to the mains, then press the power button. Wait about 10 seconds, until it starts. Now open the front cover of the printer.
3
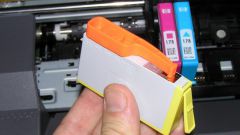
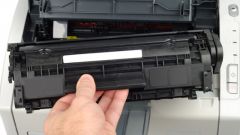
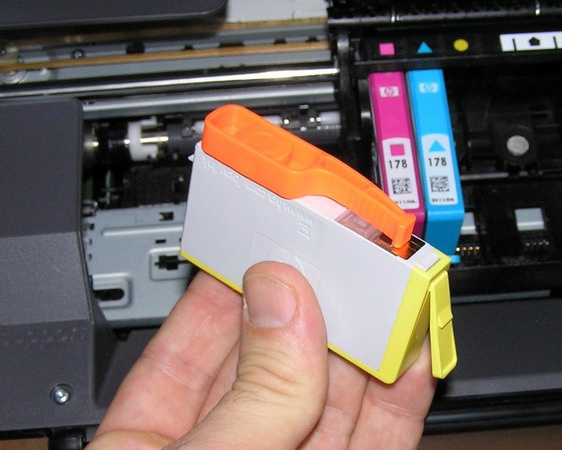
When you open the printer cover, pop up the carriage with the printhead. Wait until it is in a static position. In the printhead has two ink cartridge: black ink and colored. Remove the empty cartridge that you want to replace. To do this, just gently pull it toward you. Now in a free slot insert the new cartridge. When the cartridge is in the slot, gently push on it until it snaps into place. Then close the printer cover.
4
Now in the printer software go to the tab "Services" and select "sensor Reset service ink. Appears ink tanks that are installed in the printer. Select the ink that you changed (color or black). From the bottom of the window click on the option "Reset data".
5
Now the cartridge is replaced and the sensor ink level reset. As a result, in the printer software when printing to display the correct percentage of remaining ink. If the ink is too small, the system will inform you of this immediately before the print file.