Instruction
1
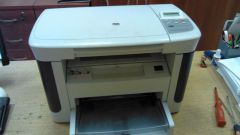
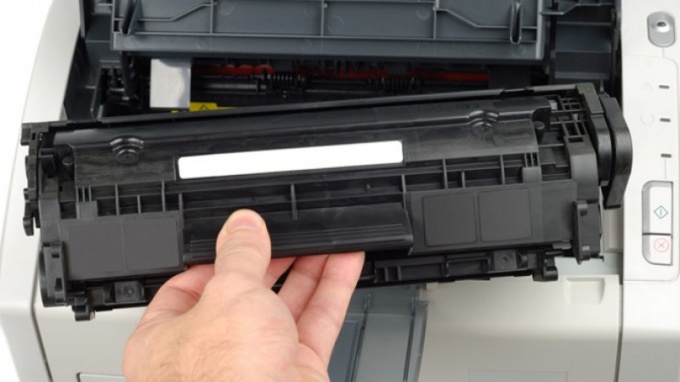
Turn the printer off. Replacing the toner cartridge when the machine may face electric shock or burns from accidental contact with the printhead. Wait a few minutes to this head is naturally cooled. Open the front cover of the printer, without making it too much effort. The cartridge, usually located inside the printer under the print head and has plastic grip. Pulling on this handle, remove the print cartridge. Please note that some models of HP printers before removing the cartridge, it must first drown until you hear a click.
2
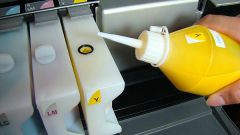
Remove the packaging from the new cartridge. Remove the protective film and cover. Each cartridge is clearly stated what kind of stickers you want to remove, and what is not necessary. Also on the box indicates the country of manufacturer and shelf life of the cartridge. Firmly grasp the cartridge with both hands, shake it. Insert a new cartridge in the printer is recommended immediately after removing the protective cover. Cartridge install guide and slide it until it clicks. If everything happens correctly, the consumable should effortlessly slide along the rails. After the cartridge stand in their nest to hear a small click, indicating it was fixed.
3
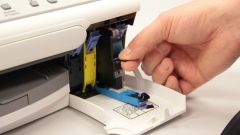
Do not touch hands to the shaded parts of the cartridge so as not to spoil it. Make sure that the expenditure item is not installed upside down or backwards. Use only original cartridge models, respective printer manufacturer. If you are installing the cartridge run into an obstacle and stop to slide along the guides, remove it and insert it again.
4
On printers with color printing, you need to insert a few color cartridges. In this case, be careful not to confuse the cartridge with a certain color. Focus on special stickers, which are also on the cartridge, and the installation socket for it.