Instruction
1
Before starting work, disconnect the computer from the network, pulling the plug from the socket. Remove the side panel to allow access to the motherboard. If you prevent certain cables, gently take them aside or disconnect previously remembering their arrangement.
2
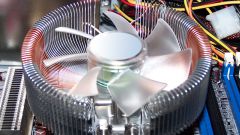
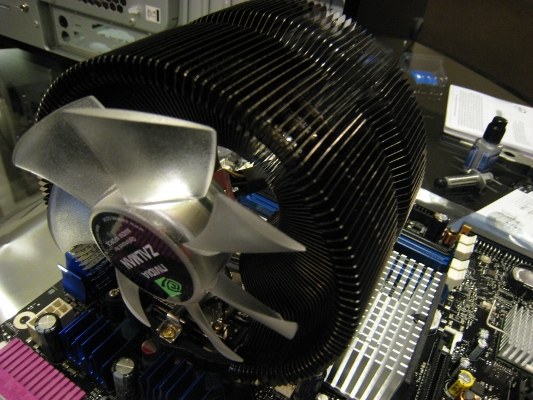
The cooler is usually attached to the radiator by four plastic snaps. To remove it, first disconnect the connector. Then gently pry with a screwdriver or other suitable tool to one of the latches, pull it and lift the corner of the cooler – so that the edge of the latch out of the slot. Similarly proceed with the other three latches. Then pull the cooler from the radiator, it should be easily removed.
3
Removing the fan, notice how it was installed, the Assembly will need to put it in the same way. Usually the cooler is removed for lubrication, replacement or when cleaning the radiator. Perform the necessary work and return the cooler in place, connect the connector. Note the location of the wire, it should not be near the fan blades.
4
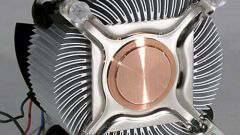
If you want to remove the radiator, disconnect the cooler is optional, you can disable the connector. For removing the radiator you will need access to the back side of the motherboard, so remove the system unit both side panels.
5
The radiator is usually attached by plastic snaps in the holes of the motherboard. To take it off from the back side of the Board, squeeze the locking part of one of the latches so that she could freely exit the holes of the Board. Exactly the same with the three remaining latches and remove the radiator.
6
Be careful: if the latches are pressed, but the radiator is not removed, do not force it. Most likely, the radiator just stuck to the processor. Turn on the computer for a few minutes, then turn off and try again. Applied CPU thermal grease heats up and the radiator should be easily removed. When you re-install the radiator, don't forget to apply a drop of this lubricant. On new radiators lubrication could be applied.