You will need
- - system unit;
- - screwdriver.
Instruction
1
Terminate all running programs. Turn off the computer. Wait until the screen goes blank. Disconnect the computer from the network. Disconnect all devices from the system unit.
2
Put it on a flat surface. Grab a screwdriver. Sometimes the system unit cover is removed by opening the latches, but most manufacturers use screws. A screwdriver may need a Phillips or hex. Make sure that you have removed all the screws — they are quite small and blend in with the color cover.
3
Usually after all the screws removed, the lid opens itself. But sometimes doing design in which the cover need to be pushed to the side or up. Please note the warranty stickers. In case of damage, warranty is lost. However, the sticker can be not only warranty, but also transport. Its removal means nothing.
4
If the warranty sticker is, and remove the top cover still needed, contact the service center. There the cover will be removed, carry out the necessary actions with the system unit, put back and will be tagged with a note about how, when and by whom it was discovered. Usually the system cover removed to upgrade its contents or to remove accumulated dust. If you are doing this for the first time, consider the risk. The computer may not turn on. Get ready to go to a repair service. Before the procedure, find a guide on the Internet or the literature.
5
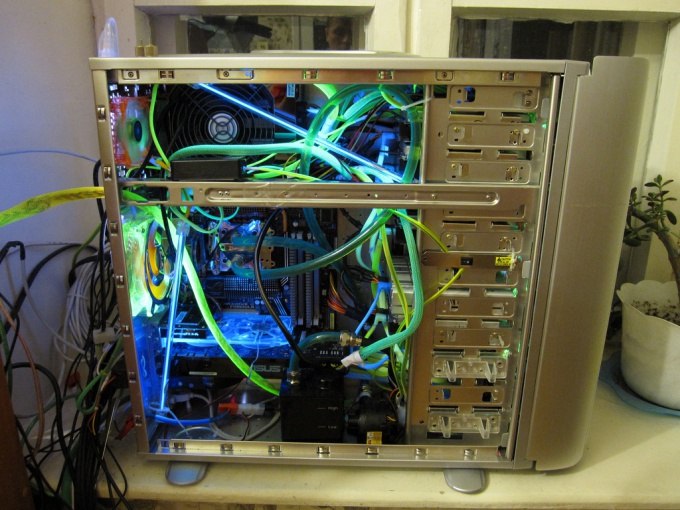
If after removing the screws the cover does not open, and you can't understand how to remove it — don't do it yourself. There is a risk to damage the structure. Cover should be removable without special effort. If you remove it easily fails is probably not removed all the screws, or there are additional fastening. You may want to browse in the Internet a description of your system unit.