Instruction
1
Shut down the operating system and power off the key switch located on the rear side of the housing of the system unit next to the socket for the power cord. If your system unit this switch is not provided, then just remove the power cord from the outlet.
2
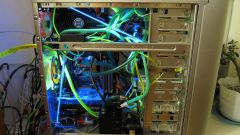
Put the system unit on the right (when viewed from the front) side surface. As you will have to make an effort, the body needs to have a stable position. If, in order to conveniently arrange, you need to disconnect all the wires on the rear surface, do it.
3
Remove the left side panel. Usually it is secured with two screws to the rear side of the housing and removed the shift ago.
4
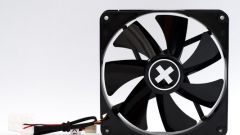
Disconnect the power supply harnesses that connect the cooler fan to the system Board.
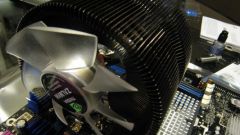
5
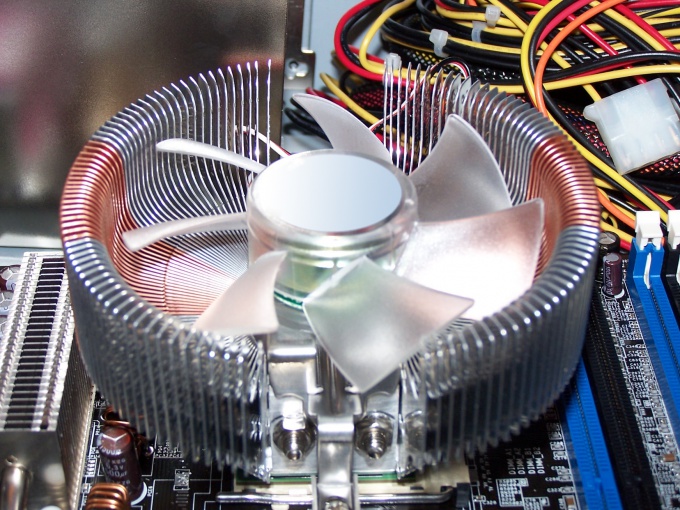
Determine the type of mounting of the cooler to the motherboard - there are quite a lot. In most cases the radiator cooler is pressed against the processor of the elastic metal rocker that has cutouts on both sides and catches them behind the plastic tabs on both sides of the mounting of the processor. It is necessary to consistently release first the upper edge of this arm, then lower. Some of the models of the coolers on the upper mount rocker arms have a large plastic lever - in this case will be enough to turn it to release the top end. If the lever is not, slightly press the spring side of the rocker to the Board (e.g. with a screwdriver) and remove it from the tab on the mount to the CPU. The lower edge release easy, because in the absence of tension it will be free to hang out in the groove.
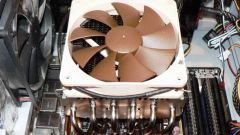
6
Grasp the metal heat sink of the cooler and carefully remove it from the processor. The place fit the radiator to the CPU covered with thermal paste, which is quite a viscous consistency, and also was under constant pressure created by spring rocker. Therefore, no mechanical fastening, thermal grease alone can keep the heatsink on the processor package. Keep your cooler, making a great effort, better push it as far as possible in the horizontal direction to reduce thermal compound-covered area of adhesion of the two surfaces and then remove.