Instruction
1
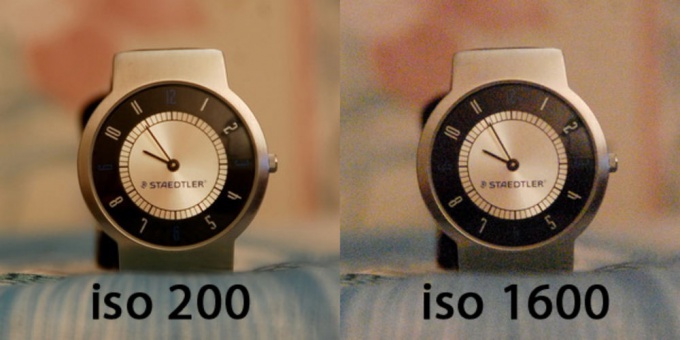
You need to start with setting (ISO). This photosensitivity. The most common ISO range is from 100 to 800. When to use a particular value? In Sunny weather, when the subject is well lit, it is better to set the lowest ISO: 100. Then, thanks to sun the object will be beautifully lit and designed, and because of the low photosensitivity of the photo is ringing and clear. If the sun is not really shining bright you can raise ISO to 200. The picture is also very good. But in bright light this value may result in overexposed areas and loss of quality. In gloomy weather or at twilight you should put ISO 400. In the evening – 800 or higher. Note that at high ISO digital noise appears. It makes the picture less attractive, and sometimes spoils the picture.
2
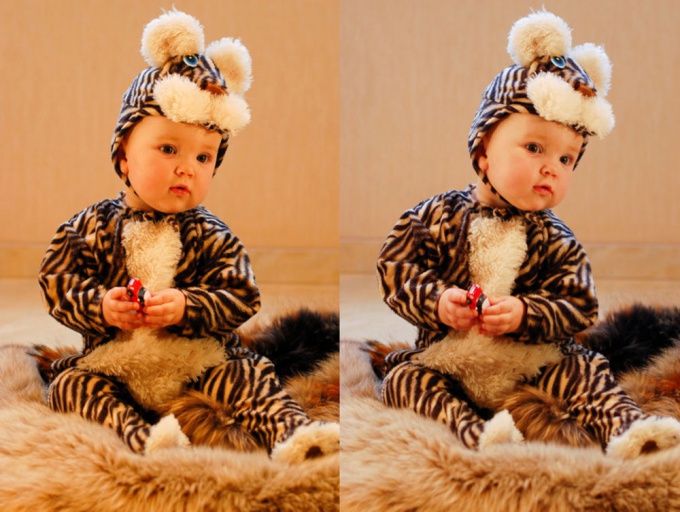
Next, you configure the BB, ie white balance. Do not be alarmed. This setting can be easily found even in the most basic digital cameras. You've probably seen settings like "cloudy", "Sunny", "incandescent", "fluorescent light", etc. You should choose one of these settings. In fact, it helps to correctly display the colors in the picture.
3
Now we need to determine the method of exposure measurement. It is best to choose matrix metering. Then all the colors in the frame will be more accurately crafted. If you want to bring some creative idea, you can try and spot metering. This feature is only available on SLR cameras. Moreover, the exposure you can adjust. With too dark lighting, you can correct the exposure, and the photo will become lighter. And if too bright – on the contrary it is possible to make the image darker.
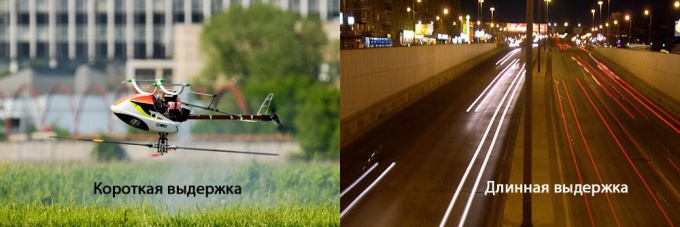
4
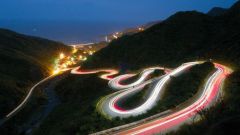
There are very few settings before you make your frame. Now we need to determine the exposure. Short exposure will make images more clear, no blur. Than faster moving photographing object, the shorter must be the exposure. However, in the evening you need to use a long exposure for the best details. But care must be taken that the camera did not move (use a tripod) and the subject must also stay still. Otherwise, the frame may be damaged. On the other hand, shooting moving cars in the evening on a long exposure it is very interesting and the photos are unique. In General, experiment.
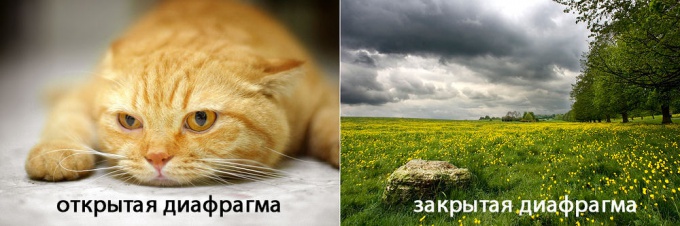
5
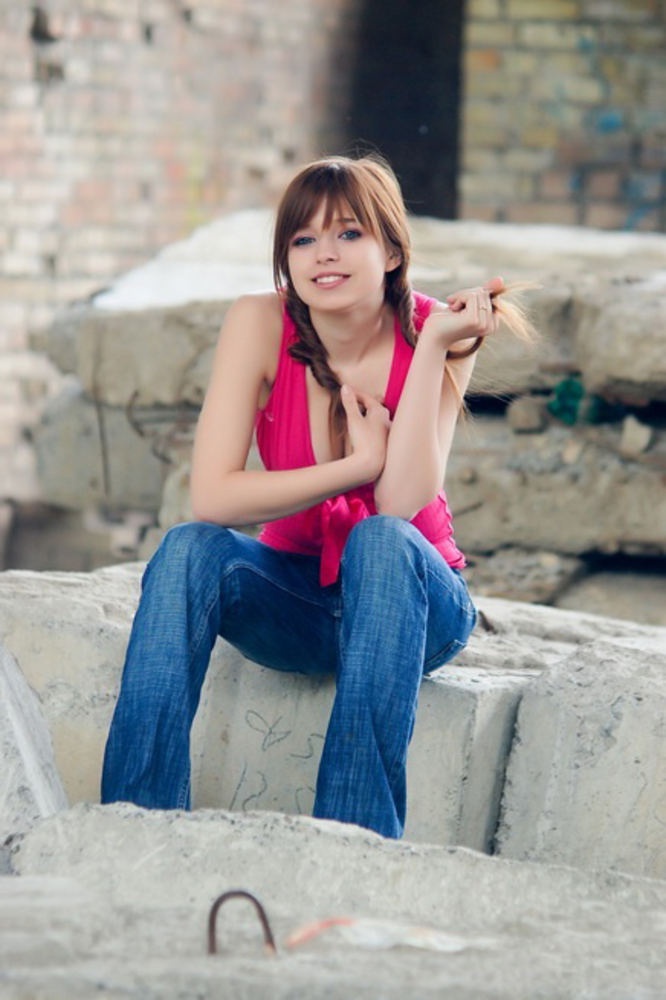
We now turn to the diaphragm. The more you open it, the lighter it turns out your picture. So it is very important possible lens. In addition to the light transmission aperture is responsible for another important point: depth of field. Aperture remains clear, only the object on which the camera is focused. Background and objects in the foreground will be blurred. This technique is best suited for shooting portraits. For landscape you need to close the aperture as much as possible and set a long exposure (again, need a tripod) so that the whole picture was clear and well developed.
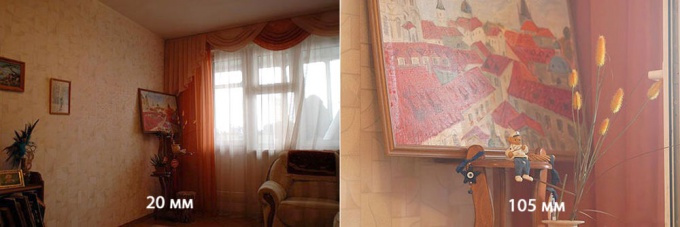
6
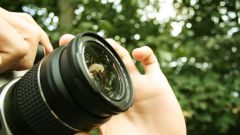
And the last thing we need to adjust is the focal length. This physical characteristic of the lens. Depending on this value we can put in the picture a picture with a larger or smaller angle. It also affects the zoom, if you have a lens with a variable focal length. To set the focal distance by rotating the ring on the lens. If you have a compact camera, use the zoom buttons "+" and "-". So you will find a suitable frame for this focal length. Now you're ready to shoot your first shot with manual settings.
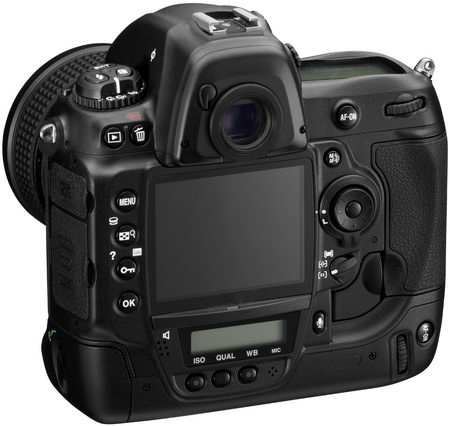
Note
Setup of the camera is the first thing to do after you picked up a new camera and turned it on. To configure the camera, you need to enter the menu by pressing the appropriate button — it is located at the back of any camera near to the other buttons around the screen.
Useful advice
Like the transient and SLR cameras a compact now also offer automatic control of photo settings. In the beginning of the article specify that it is the same for all settings and the impact they have on the process of photography, and then examine how to properly configure your camera in most typical situations.