Instruction
1
Download and install Adobe Acrobat from the official website of the software developer. To install, follow the instructions on the computer screen after you run the installer. Then run the program using the shortcut on the desktop. If necessary, wait until the upgrade procedure utility.
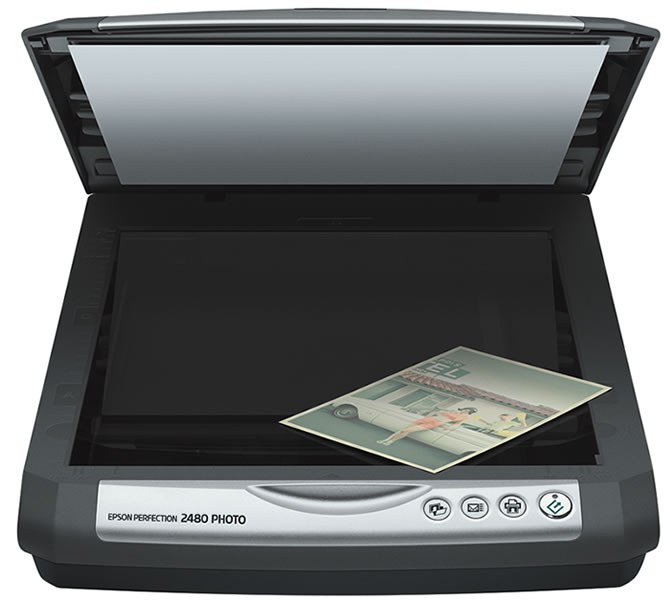
2
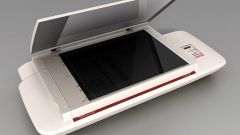
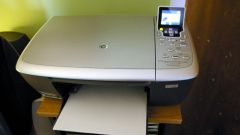
Turn on your scanner and load the document you want to scan. Then navigate to the utility toolbar and choose the Create PDF function using the corresponding button in the program window. In the list options section, select From Scanner. You can also use the File – Create – From Scanner top bar of the Windows window.
3
In the line Scanner select your device connected to your computer. Then configure the desired scan settings. For example, in the field Options you can specify the compression level, PDF version you want to use to open the file, and the quality of the target document. Then press the Scan button and wait until the end of the procedure. If necessary, scan the remaining pages of your document. To attach them to the previous in a single file in the selection window settings, click the Append To Current Document.
4
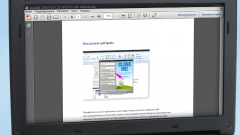
After scanning, check the result and repeat procedure if you believe that the document has been scanned clear enough. After that open menu File – Save As – PDF to save the file. The scan to PDF file is completed.
5
In the latest program versions supports automatic text recognition. This feature will help you, if you want to make the document editable. To do this, select the tool "View" - "Tools" - "Recognize text". To correct errors in the recognition you can use the "Uncertain characters". Then you can save the target file.