You will need
- - screwdriver;
- - wrenches;
- - control lamp;
- - sheet of newspaper.
Instruction
1
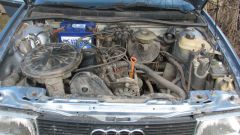
Install the crankshaft position top dead center on the compression stroke of first cylinder. Look at this on a long label, available at the crankshaft. Make sure the rotor contact is opposite the inner cap terminal. This contact should be connected to the wire from the spark of the first cylinder.
2
In that case, if the distributor installed on the engine after it has been repaired, remove the candle of the first cylinder. The hole exit is made from paper tube. Now rotate the crankshaft until the air pushes the cork out of the hole. This point indicates the beginning of the compression stroke in the corresponding cylinder.
3
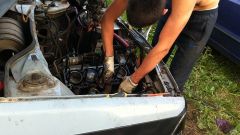
Loosen the microprocessor unit, so that it can rotate. Rotate the unit counterclockwise until it stops.
4
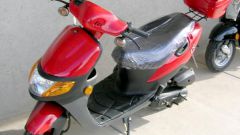
Look at the flywheel marks and align it with the center mark of the motorcycle engine. One label is usually denoted by the letter "B" (top dead center) and the other with the letter "P" (pre-ignition).
5
Make sure that the ignition system and microprocessor unit is powered-up, which can be verified by the led light bulb.
6
Slowly rotate the unit and determine the moment when the test lamp goes out. Now securely tighten all fasteners.
7
After adjusting precise moment of ignition on the experience. Use a test lamp, closing the contacts. When set correctly the ignition light will turn on and off when turning the crankshaft.
8
When placing plugs having a contact circuit, first check and adjust the clearance between the contact breaker (it should be equal to about 0.5 mm). To the terminal in the low voltage coil connect a test light; the second wire from the lamp attach to ground.
9
Now rotate the crankshaft to align marks on flywheel and crankcase. Rotate the body of the breaker after releasing the fastening screws. When the warning light flashes, securely fix the body of the breaker. Disconnect the test lamp.