You will need
- - strobe;
- - special tool to adjust the ignition timing (engine 7A);
- - candle key (engine 7A).
Instruction
1
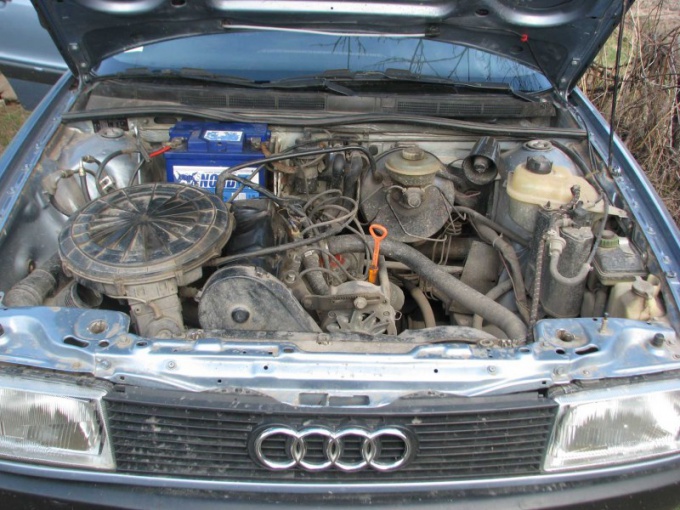
To adjust the ignition on the motors KV and the engines volume of 1.6 and 1.8 l powertrain warm up to operating temperature. Stop and connect the device. On models of engines DZ, JN RM and disconnect the vacuum hose from the distributor and plug it. On all other models, motors, leave the hose connected.
2
Start the engine in idle mode and aim the strobe into the hole on the left side of the casing of the clutch. If the slot on the flywheel appears at the lower edge of the hole, then the ignition timing is normal. If correction is required, remove the plug with the clamp bolt of the distributor, loosen the bolt and turn the dispenser to the desired setting angle. Reinstall all removed parts, reconnect the vacuum hose, turn the engine off and remove the strobe.
3
Adjust ignition timing on engines PS and NG in the following way: warm up the engine, stop it, connect the strobe light. Using the system self check of the knock sensor. If you have air conditioning, turn it off. On the PS engine check that the idle switch of the throttle was activated. In the NG engine, remove the fuse block cover and install the fuse in the relay of the fuel pump. Start the engine in idle mode. Wait 4 seconds. before testing. To check and adjust the angle of the Opera follow the same steps described in section 3.
4
On the 7A engine adjustment ignition timing run according to the following sequence: install the engine in the position of the upper dead point. To do this, remove the spark plugs and rotate the crankshaft until the beginning of time compression in 1 cylinder. To feel that moment, in the hole of the cylinder 1 insert the rubber plug or your own finger. Watching in the observation hole located in the gear housing, continue to rotate the crankshaft clockwise until alignment marks on the flywheel and on the flywheel housing.
5
Next, remove the top cover of the drive camshaft and verify that the TDC marks on the camshaft sprocket and the valve cover are the same. Remove the cap from the distributor and align the special tool to the center of the runner with the mark of TDC on this tool. The lower mark check the Hall sensor. This mark must coincide with the slider. To adjust its position, remove the plug and loosen the clamping bolt of the distributor. Turn the housing to align the pointer and runner rail. After all corrections and adjustments install back all removed parts.
6
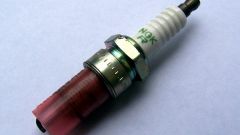
To properly remove the spark plugs on the engine 7A first note the location of high-voltage wires for the cylinder number (if no factory labels). Pull out the clips of high-voltage wires from candles. Candle key Unscrew the plugs and remove them. Check and adjust if required the clearance of candles as per the specifications of the manufacturer. To measure the clearance use the feeler gauge to adjust the gap, bend the outer electrode to the desired state. Screw the spark manually with a force specified in the specifications.