You will need
- - Photoshop;
- photography.
Instruction
1
Open intended for processing in the graphics editor, create a use the option Duplicate Layer menu Layer copy of the image on a new layer. In the process, you can take fragments of the original photo, so it makes sense to store it in the document.
2
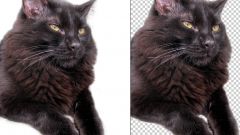
If the background of the picture looks almost white, but you are not sure about the display colors on the monitor, you can check the color composition of the background. For this option the Info option from the Window menu turn on the information palette, and drag the pointer across the image. In areas where the value of the color component of any of the channels will be different from 255, the background is not pure white.
3
If the areas with the shade of the background is not too much, they can paint with the Brush tool, choosing as the main color white. To do this, click on the model of the base color and enter in the input field the value ffffff.
4
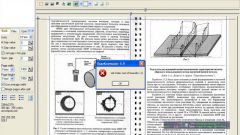
If the background picture is in need of a more substantial correction, open the settings window of the replace color Replace Color option group Image Adjustments menu. The pointer cursor when hovering on the image will take the form of a pipette. Clicking this tool on the part of the picture, specify the color you want to change.
5
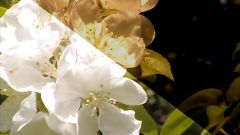
Usually background images are in need of clarification contains areas of different brightness. Then click the color Swatch to replace most of the dark area of the background but don't use this as a shadow that casts the subject in the photograph. Set the parameter Fuzziness in such a way that the background in the preview window was bright. The object in the frame should be dark.
6
Click on the color Swatch in the Result field and select a palette of pure white color. If the result of the lightening of the background, which can be seen in the window of the opened document, you are not satisfied, move to the right regulator Lightness.
7
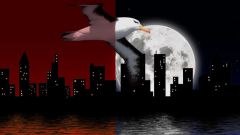
The strong brightening of the background might affect the subject in the picture. Most often in such a situation suffer its edge. To return to the subject's original appearance, create a mask to the modified layer with the option Reveal All Layer Mask to the group Layer menu. Paint the mask black in the areas where the object should look like the original photo. For the convenience of zoom.
8
Save edited image option Save for Web or Save As from the File menu.