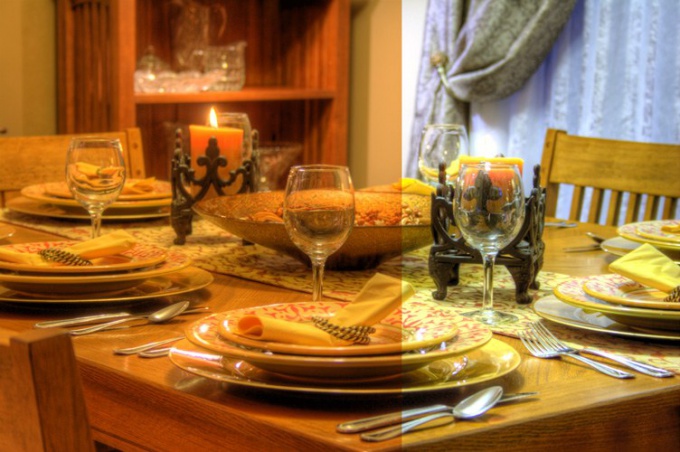
You will need
- - Photoshop;
- photography.
Instruction
1
Open need processing the picture in Photoshop and create on top of the locked background image adjustment layer. Use the Curves option group New Adjustment Layer menu Layer. Work with correction made on a separate layer will allow you to always have on hand the photo to its original form and to adjust the degree of filter application, if required.
2
Turn right pipette in the filter settings and specify with the help of this tool area is white, clicking on the object that should be white. In the same way, enter a black color in the picture, selecting the left pipette. The average tool click on the gray area.
3
To create an adjustment layer instead of Curves you can use the option group Levels New Adjustment Layer. Color balance in Levels can be configured by specifying a white, black and grey dots.
4
If you have any problems finding the right areas, add photo adjustment layer with the filter Threshold. This option can be found in the group New Adjustment Layer. Setting the Threshold Level value equal to one, start to move the slider to the right. As soon as the image appears black dot, turn on the Eyedropper tool and holding the Shift key, put it on the label.
5
To detect the white point, set the Threshold Level the maximum value and slide the slider to the left until the appearance of white areas. Mark found the area using Eyedropper Tool.
6
To detect the gray point you'll need an extra layer, filled with gray. Turn off the visibility of the adjustment layer with a Threshold filter over the shot and create a new transparent layer. Fill it with neutral gray, using the Fill option from the Edit menu. From the drop-down list in the Contents pane, select 50% Gray. The resulting layer blend with photo in mode Difference.
7
Turn on adjustment layer, which is the filter Threshold and double-click its icon to open settings. Set the minimum value for the Threshold parameter Level and slide the slider to the right until the appearance of black dots. This image region is the required area of grey color.
8
Before adjusting the color balance using Curves or Levels, disable the layers with the gray fill and the filter Threshold.
9
Save the photo with the edited colors option Save As File menu.

