You will need
- - Photoshop;
- photography;
- file with the new background.
Instruction
1
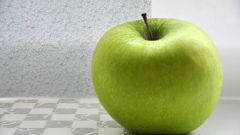
Download the Photoshop option Open from the File menu. Make photo editable, using the option Layer from Background group New from the File menu.
2
Insert the document image with the new background. Not to make unnecessary actions, use the Place option in File menu. Using the frame appeared around the image added to the file this way, you can adjust the size of the background.
3
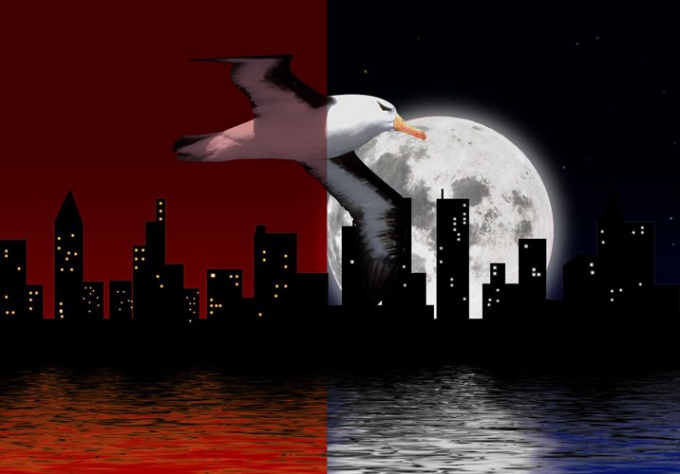
If you need to get a combination of two background images, change the blending mode of the top layer from Normal to one that will give you acceptable result. The Darken modes at Linear Burn will give the darkening of the picture. If you want to lighten a photo, use modes from Linear Dodge to Lighten. The Overlay is suitable for overlay textures.
4
If you change the background by changing the blend mode of one of the layers object in the picture was also changed. It is possible to fix with a layer mask. Using the option to Reveal All that is in the group Layer Mask on Layer, add a mask to the top layer and paint black color over the shapes that you want to remove the overlaid image. To work with the mask will fit the Brush tool.
5
For a complete change of the background picture move the picture with the new background under the photo option on the Send Backward group of the Arrange Layer menu or the mouse. To the layer with the add a mask. If the photo is taken on a solid background, select the background with Magic Wand tool. Click on the mask and fill selected area with black color applying the Paint Bucket tool, the Foreground Color mode. The desired mode can be selected from the list in the settings panel, which is located under the main menu.
6
If the photo was taken on a multicolored background and highlight it with one click does not work, you can try to separate it using one of the color channels. Select in the palette channel in which are pictured the object most different from the background. Option Duplicate Channel from the context menu to create a copy of this channel.
7
With the option Brightness/Contrast or Curves Adjustments group menu Image increase the contrast of images so that the foreground object was completely white and the background black. If the image that you want to allocate have become dark, use the Invert option from the same group. Load allocation, using the option Load Selection menu Select. Select the name of the edited channel as the source.
8
Select the RGB channel to make the image colorful. Clicking in the layers palette, add a mask to the layer with the button Add layer mask. If the picture remains of old background, fix the mask.
9
If necessary, edit the photo settings with the option Hue/Saturation Adjustments group. The object in the photo should not stand out from the color scheme of the new background.
10
Save the edited photo to jpg file Save As option the File menu.


