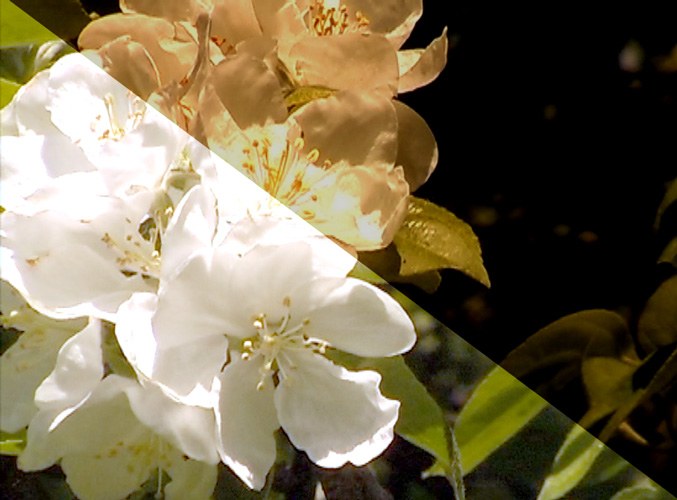
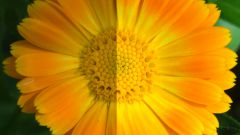
You will need
- - Photoshop;
- photography.
Instruction
1
Open the picture in Photoshop with the Open command from the File menu and duplicate the layer with the photo, using the option Duplicate Layer from the Layer menu or Layer via Copy, which is in the New group the same menu.
2
The need of clarification, not always required to fully edit. In order to be able to adjust the degree of change of the photos, use an adjustment layer. To create it use the Levels option from the group New Adjustment Layer menu Layer.
3
After creating the adjustment layer will open the settings window of the filter Levels. If you need to make the lighter, without changing the color balance, move the slider to the left. In the list of Channels must be selected RGB, not one of the three color channels.
4
If the image needs color corrections, specify the area in white on the image using the rightmost eyedropper that is in the settings window. The leftmost pipette specify black piece in the picture. Apply the filter by clicking on the OK button.
5
If you make a mistake in the filter settings, change them. It is not necessary to cancel actions using the history palette, it is enough to apply the option Layer Content Options from the Layer menu. Remap the filter in the opened window.
6
After clarification of the photos you may find on it a fair amount of noise. Click on the layer with the picture and select the option Reduce Noise from the band Noise Filter menu to correct this shortcoming.
7
Some portions of the image after applying the filter Levels can be too bright. Adjust the lightness of these fragments, reducing the opacity of the adjustment layer mask. To do so, activate the Brush tool, select black as your primary color and fill the mask in places that do not need clarification.
8
If the photo showed the fragments, the degree of clarification which should slightly reduce, paint the mask over these areas the same black brush with reduced opacity. To do this, change the value of the Opacity in the options bar of the brush under the main menu.
9
Use the option Save As from the File menu, save the file in jpg. If you are going to post the processed picture on the Internet, apply to save the option Save for Web.


