You will need
- - Arduino;
- module with electret capsule microphone CMA-4544PF-W;
- - connecting wires.
Instruction
1
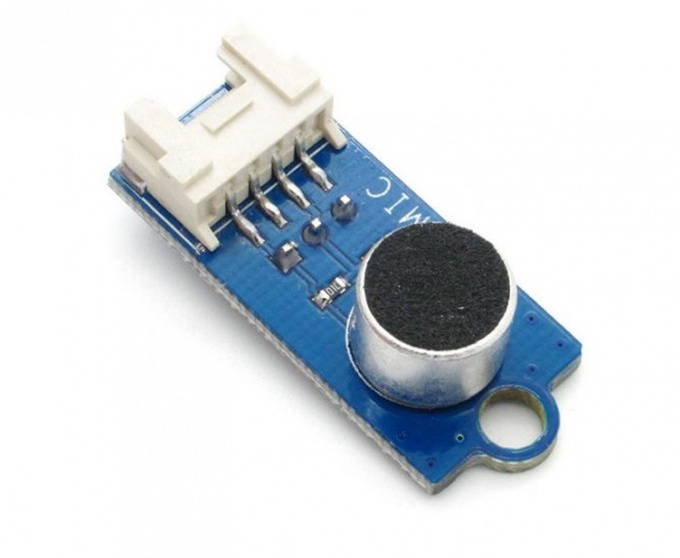
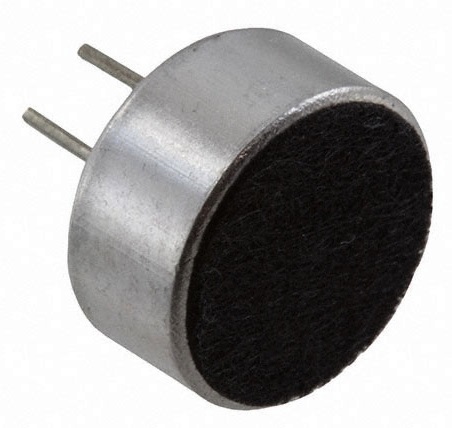
Electret microphone CMA-4544PF-W, which is the basis of the module that responds to sound waves with frequencies from 20 Hz to 20 kHz. The microphone is omnidirectional, i.e., sensitive to sound coming from all directions, with a sensitivity of -44 dB. Learn more about the device and principle of operation of electret microphones can be read in the article referenced in the list of sources.
2
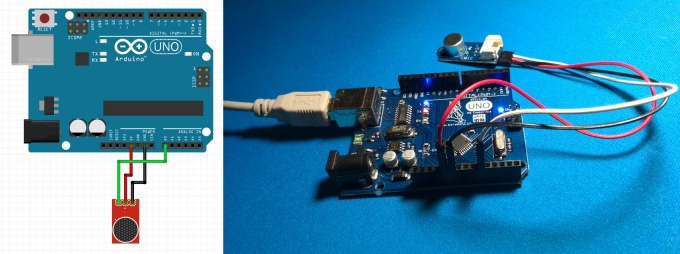
The module contains electret microphone that requires a power supply of 3 to 10 volts. The correct polarity is important. Connect the module by a simple scheme: the conclusion "V" module to supply +3.3 or +5 volts, the output "G" of the module to GND of the Arduino, the output "S" to analog port "A0" of Arduino.
3
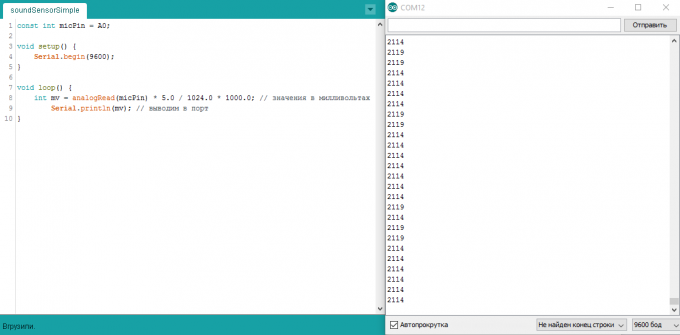
Write a program for Arduino that will read the readings from microphone and output them to the serial port in the mV. Why might we need it? For example, to measure the level of noise; to control the robot to go for cotton or to stop. Some even manage to "teach" the Arduino to identify different sounds and thus create a more intelligent control: the robot will understand the commands "Stop" and "Go" (as, for example, in the article "voice Recognition using the Arduino" in the sources).
4
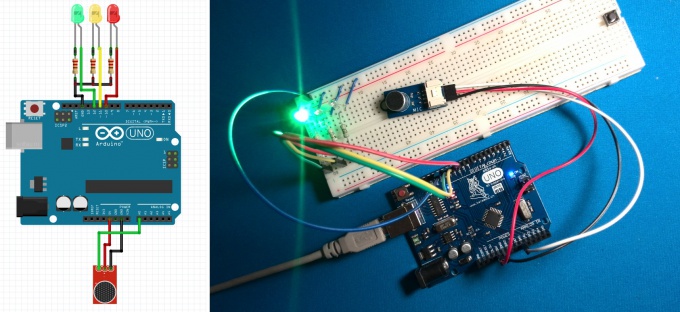
Let's put a kind of equalizer according to the attached scheme.
5
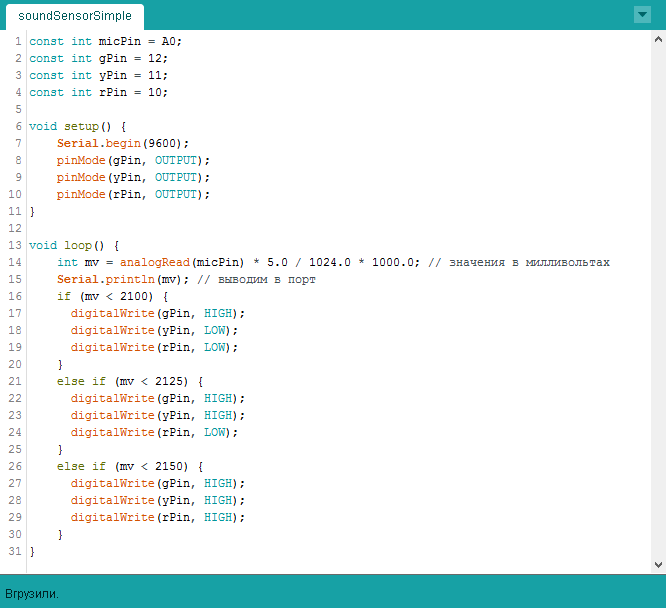
Some modifications to the sketch. Add LEDs and thresholds were triggered.
Equalizer is ready! Try to talk into the microphone and see how the LEDs light up when you change the volume of speech.
Equalizer is ready! Try to talk into the microphone and see how the LEDs light up when you change the volume of speech.
Useful advice
The thresholds, after which light up corresponding LEDs depend on the set sensitivity of the microphone. I got 2000, 2125 and 2150 mV. You have to define them yourself.