You will need
- laptop;
- programmer Pak-loader;
- notched screwdriver;
- wrench 10;
- insulating tape.
Instruction
1
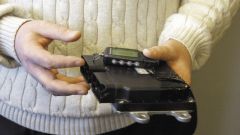
Disconnect and remove the engine control unit, the so-called "brains". In auto the block is in different places, but usually in the bottom of the console. Using notched screwdriver, Unscrew the side cover of the console as the driver's side and passenger side. The controller is mounted on three bolts, Unscrew them. Disconnect the terminals and remove the control unit. Dismantle the control unit by removing the four screws at the edges. Depending on the model of the controller on the back cover may be a rivet, in case of its presence you need to drill.
2
You will need a revision of the control unit. It consists in soldering the chip resistor. Connect the unit to the computer using the Pak-loader and firmware, read flash and eeprom. Save the firmware in any convenient directory. The firmware eeprom "pour" back into the engine control unit. Disconnect the unit from Pak-loader. Solder the chip resistor in place.
3
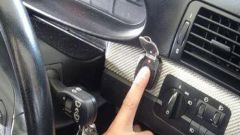
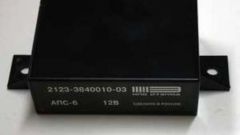
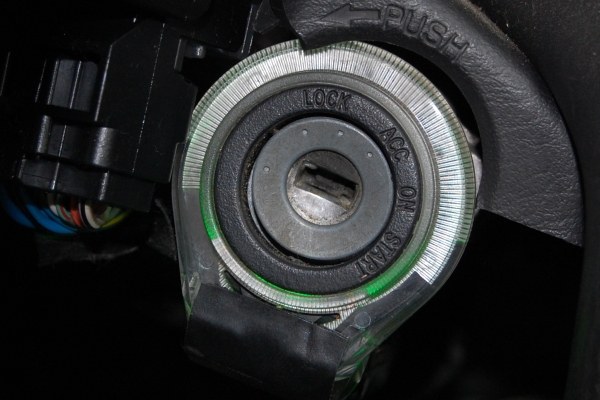
Unplug the unit immobilizerand to ensure that your control unit is not locked during the installation process. Console immobilizerand is in the bar at the level of the radio. Feeling the block with your hand, unplug the 20-pin connector. Cut the 9-th and 18-th wire from the connector and connect them. Using electrical tape, tape the joined wires. This operation to further correct operation of the diagnostic system. Connect all connectors to the engine control unit and install it in place. Screw the wall of the center console. Start the engine.
Note
The ECM is a complex scheme and any interference can damage them.
Useful advice
If you do not have soldering station, to perepalki chip of the engine control unit should go to specialized agencies. Remember, any manipulation is at your sole risk. When connecting glue follow the density of their installation.