You will need
- - screwdriver figure;
- - wrench for 10;
- - insulating tape;
- - laptop computer;
- - Pak-loader programmer.
Instruction
1
First we need to disconnect, then remove the engine control unit. Resorted to using the notched screwdriver, Unscrew the side cover of the console as the passenger side and driver side. Mount the controller centered on the 3 bolts you have to Unscrew. Now disconnect the terminals. The next step is to remove the control unit, which then need to disassemble by loosening the edges of the 4 screws. Depending on which model controller you have to deal with, on the back cover of the device can be located rivet you need to drill.
2
Now get ready for what you have to do some revision of the control unit. The process is that you have to resolder the chip resistor. The unit must be connected to the computer with the use of Pak-loader. Now consider firmware, eeprom and flash. Don't forget to save it in any suitable directory. Pour the firmware eeprom back to managing the engine block, then disconnect the unit from Pak-loader and solder in place of the chip resistor.
3
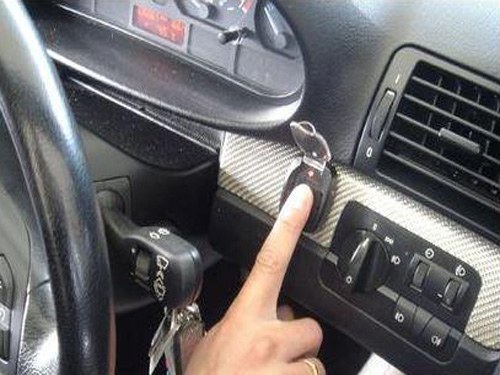
Make disabling unit immobilizerto your control unit are not blocked in the installation process. Remember, console immobilizerand located at the level of the radio panel. If you grope with the hand unit, try to unplug the 20-pin connector. Then cut from the connector of the ninth and eighteenth wire, then connect them together. Applying insulating tape all the connected wire should be a good insulated. Now to the control unit to be connected all the connectors, and him install into place. Screw the wall console is Central and you can safely start the engine!
Note
The engine control unit is a complex circuit by intervening in the operation of which may significantly damage it.
Useful advice
If you do not have soldering station to resolder the chip of the engine control unit, you will have to seek the assistance of representatives of the specialized agencies. Remember, every manipulation that you will run entirely at your own risk.