Instruction
1
Turn on the computer and immediately after the appearance on the black screen the logo of the manufacturer of the motherboard hit the Delete button. Alternatively, instead of a logo, you may receive a summary textual information about the computer, for example, the type and model of CPU, amount of RAM and so on. Operate similarly, press Delete a few times.
2
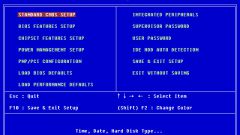
In some models the input button in the BIOS setup differs, this may be F2, F10 — this is usually written in the lower line of the screen. So watch out for inscriptions on the screen, and follow the manufacturer's instructions. After pressing the correct button on the monitor window appears with the menu bar of the main system settings of the computer.
3
Press the arrows "up" and "down" or "left and right" to navigate the BIOS. The structure of the paragraphs is different from different manufacturers of motherboards and firmware, so it is impossible to specify the location of the desired menu.
4
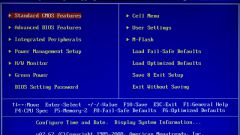
Look for the words similar to Load fail safe defaults or just Default settings. When you find the desired item, press the Enter button to reset the settings to its original position.
5
Then select menu Save&Exit and press the enter key. Confirm your selection by pressing the button, which displays a computer. After reboot, all settings will be reset to its original position.
6
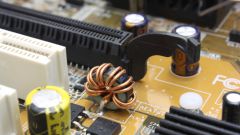
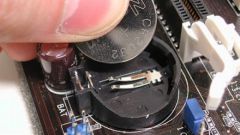
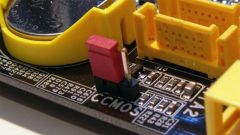
For cases where failed automatic protection against incorrect settings, and the computer refuses to enter the BIOS by pressing a button on the keyboard, there is another, more radical way. Open the side panel of the system unit and look round a big battery. Pull it from the slot in the motherboard and leave it for 15 minutes. Then return the battery back into the socket and turn on the computer. Setting returns to the standard condition.