You will need
- Cardboard (corrugated, suitable box, TV/microwave, etc.), pencil, utility knife, scissors, a glue gun and studs (I bought a fix price), automotive putty, primer, paint of two colors, epoxy, printer, the program Pepakura Viewer, scan the model for FOAM (this is important because other scanner designed for paper crafts and is not suitable for cardboard), engraver or hand jig saw, masking tape.
Instruction
1
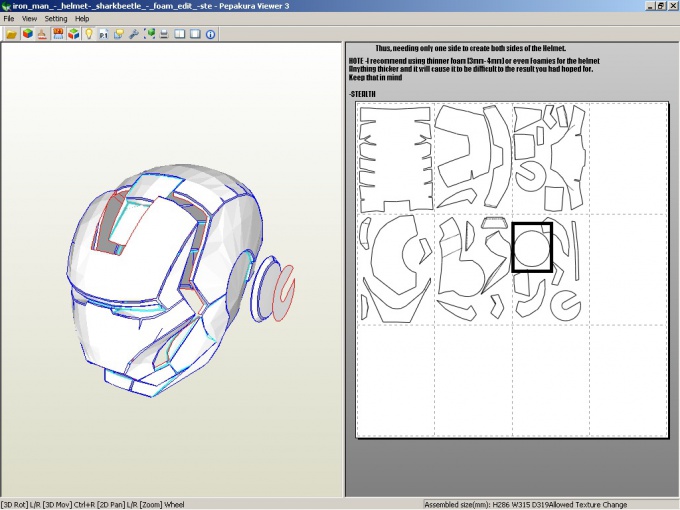
You need to open the program your scan and print it on plain paper. Then cut all your parts out of paper and draw a circle around each on the cardboard. Please note that some items must be on both sides, and the scan indicated one time. For example, I selected item. Just flip the parts and draw again. Some parts are under other, forming three-dimensional parts. They need to circle on the cardboard a little more than it is. To glue these parts should be not in the joint, and to each other.
2
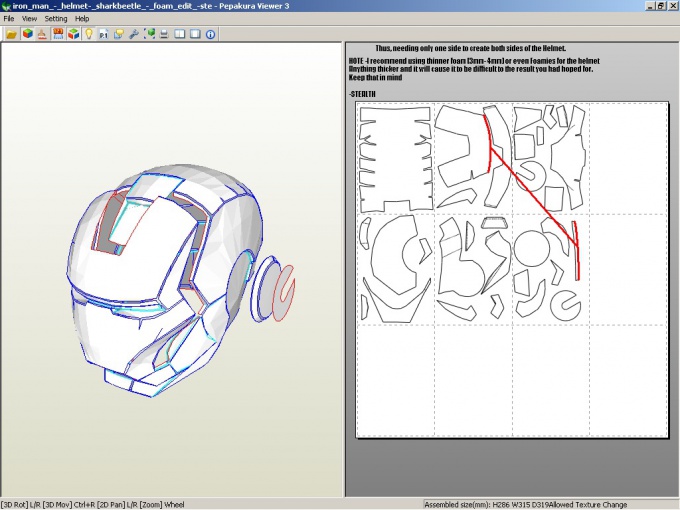
When you cut, there comes the most responsible stage. Using the same program to merge all your items together. To accomplish this, hover the mouse cursor over any face and the program will tell what it connects.
3
After gluing you need to strengthen your helmet. Mix epoxy resin with hardener (included with resin) according to the instructions. With a brush apply it on the model. A cardboard model should be well impregnated, to be as tight as you can. Leave a helmet on the day for complete drying. Don't forget when working with epoxy about safety! Be sure to wear a respirator and gloves to avoid getting glue on the skin.
4
Now that your model is completely dried up and become stronger, you must apply it a thin layer of automotive filler to hide all the irregularities of the carton and prepare the model for further painting. You can apply two thin layers of putty, but before applying the second, be sure Proskura model with some fine sandpaper.
5
So, if your model has dried, is covered with all the Essentials, flat and smooth, then it's time primed. It's best to do a spray primer, but you can usually just applying it with a brush. Leave to dry.
6
Now the painting. First, paint one part, then another. For example, first the mask, then everything else. This should be done in order that the boundary between colors is clear. To separate one from the other conveniently with the help of masking tape.
Note
Especially carefully it is necessary to cut your parts out of cardboard and be sure to follow the Assembly so that everything was smooth. Otherwise, you'll have to redo it.
Useful advice
If you want to make a flip-front helmet after dry epoxy resin, cut by the engraver helmet, separating the mask from the helmet.