Instruction
1
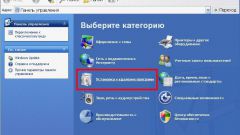
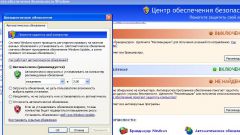
To roll back DirectX installed, you must delete the new library file and then install package files old. To do this go to control panel programs installed on the system, using the menu "start" - "control Panel". Select "add or remove programs". Among the items in the list of applications, select DirectX and click on the right mouse button, and then click "Uninstall".
2
After the removal procedure, go to the official DirectX website and download the appropriate package library. So, if you have uninstalled DirectX 10, download the library version 9.0 c. After the download is complete run the downloaded file. Following the instructions on the screen install, and then restart the computer to apply the changes.
3
To uninstall DirectX, you can also use the utility DirectX Happy Uninstall. It supports working with all versions and can roll back to the library with a single click of the mouse. For quick removal package, you can use KMDXC. The utility allows you to rollback, or conversely, updating to the correct version.
4
For Windows 7 installs DirectX 11. You can remove it by using DirectX Eradicator. Unzip the archive and run the file dxerad.exe. Click removal DirectX. After the procedure, restart your computer and go to the official website of the library to download an older version. Make the installation. Rollback is completed.
Note
After removing DirectX using one of the above programs will install a different version of the library. Otherwise you will not be able to run the game system and various programs to work with three-dimensional graphics.
Useful advice
In Windows 7 you can use together as a preinstalled version of DirectX, and the earlier library 9.0 c and 10.