Instruction
1
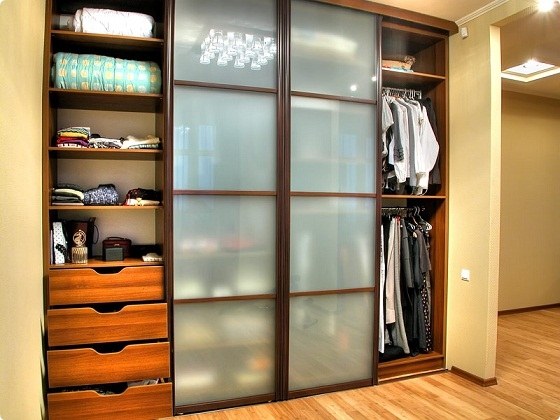
Door you need to gently pull out. To do this, slightly lift them and remove from the guides, first bottom and then top. As soon as the first door-coupe will be charged, in the same way, clear second.
2
Pull out drawers, pull out shelf mounted on shelf support. In the presence of the crossbars, they should also be removed. Those shelves, which are screwed to the enclosure, using a screwdriver, Unscrew and take out.
3
Unscrew the rails. Do this carefully, as rough and sharp movements they can easily bend. After they are removed, go to the Cabinet case. Examine it and determine the method of attachment of the rear wall. If the wall rests on the screws, they need to turn. If using nails and staples, carefully remove them using a screwdriver or narrow chisel. Alternately Unscrew the top part, sidewalls and rear wall from the base. Screws, nails and staples left in the walls, be sure to remove and fold together, as they will be useful in the further Assembly of the enclosure.
4
The base flip the legs up. Each leg and Unscrew using the screwdriver. Put all the pieces together, so nothing to lose. Now a wardrobe-acompartment disassembled, and it can be easily moved to another location.
Note
Special attention should be paid to doors with mirrors. In order not to accidentally break or scratch the mirrors, they are best to cover with a veil, and when transported to put in a box weave or a synthetic winterizer.
Useful advice
In order to make it easier to assemble the wardrobe again, all items numbered or sign them with a marker (example: "top", "rear wall"). This will allow not to get lost. All fasteners and small parts are best stored in a separate container.


