You will need
- guides;
- - rollers;
- - screws;
- - strips;
- beams;
- roulette;
- - hacksaw;
- - gon;
- - the file;
- - drill;
- - screwdriver.
Instruction
1
Measure with a tape measure the width of the opening in the top of the wardrobe. Measurements shall be performed with millimeter precision. Subtract from the result 2 mm is the size of the top rail.
2
Cut the top rail of the desired size. Note that the incision should be made strictly under a right angle. In order to precisely cut the guide it is recommended to take the square and use it to mark the cutting line. Cutting a profile from the back side to avoid scratching the front side of the profile. Carefully apply the file location of the cut.
3
Mark and drill the guide holes for the screws. The holes should be located at a distance of 30-50 cm from each other.
4
To attach the rail to the top of the Cabinet, leaving a gap of 1 mm on each side. Make sure that the profile is parallel to the ceiling of the Cabinet.
5
Measure the size of base Cabinet and cut the bottom rail the same way. Install lower profile in the Cabinet, but not yet secure.
6
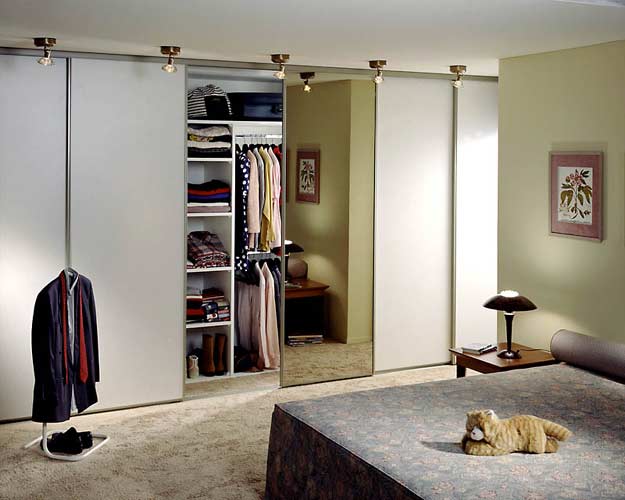
Insert the door in the closet. To do this, insert the top wheels of the door in the rear upper guide. Press your finger to lower the wheels, get inside the door of the Cabinet and insert the bottom wheels into the track.
7
Set the door strictly parallel with the side of the Cabinet using a level. For this you need to move the bottom rail a little further or on the contrary, out of the closet. Adjust the door by adjusting the screws so to ensure a snug fit to the side surface of the Cabinet.
8
Swipe the same procedure with the second door.
9
Secure bottom rail with screws. Your wardrobe is ready.