Instruction
1
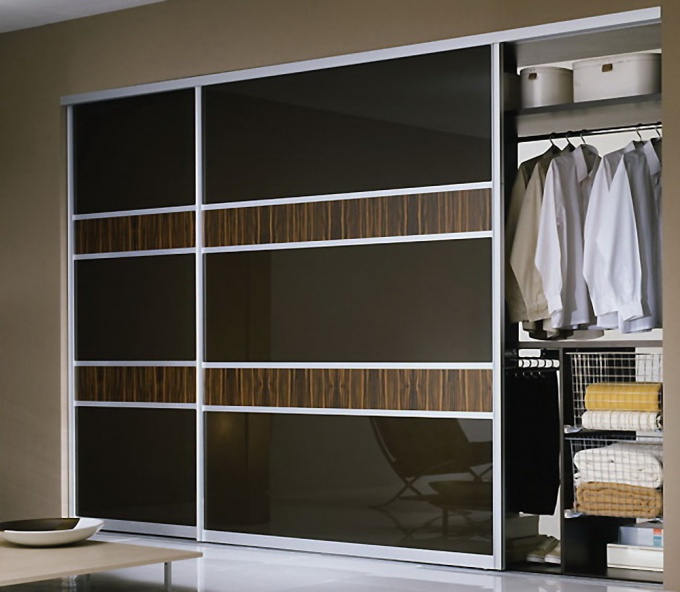
First examine the location where you will put your wardrobe. If the wall, floor or ceiling have some features, for example, this place passes the pipe, or there is a niche. Then you need to draw how it will look in your closet. Apply to diagram all dimensions: height, width, depth of the Cabinet. Do not forget that the desired interior space you need to add 10 cm, as the doors of the wardrobe, this space is "eat". Now paint all the shelves you want to install in the closet, and note their sizes too. It is best to plan the interior space of the Cabinet as follows: top long shelf-mezzanine, office for coats, shelves for underwear for all family members, a bottom shelf for shoes. So the drawing that you have drawn diagrams of all parts of the wardrobe is ready, it remains only to buy stuff, mark it, cut it or cut it, buy the hardware and assemble.
2
But before you go to the store, make the Assembly instructions. It gradually write the process of assembling all the parts, all the necessary fittings that you will need and tools. After all, it would be a shame, when the Assembly will find that will have to be disassembled and reassembled.
3
The next step is to purchase materials, tools and accessories. In principle, to build the wardrobe do not need special tools, if you have a standard set (hammer, screwdriver with different shape soldering tips), one is enough. Accessories you will need metal parts, dowels, screws, rollers and guides for door coupe. The easiest material for the Cabinet is laminated particle Board. To saw a Board and in the building a supermarket, if he provides this service. And dirt your home will be less and the professional tools you do not need.
4
Now the most important is the Assembly of the enclosure. Put on the floor Board which will be the basis for your wardrobe. To it attach the side boards with dowels and corner – three on each side. In the same way, attach them to the wall, observing the horizontal and vertical fasteners. If your Cabinet has 1 compartment for hangers, the next fasten the vertical boards that divide the space of the wardrobe. Shelves better to do fixed that they constantly fell. Since we recessed Cabinet, let it all be fixed. Fasten the shelf at the same angles and screws.
5
The most difficult thing is to install doors on the guides. First screw the guide screws on the bottom. Do it strictly on the level, otherwise door will move down the incline. To cope with inset doors are one impossible, so make sure to call helpers. Need to embed both doors together, wearing them on the top rails. Be sure to finish in the bottom rails. When the doors are inserted, alternately move the door and prikruchivayte upper guide on the screws.
6
As you can see, to collect the wardrobe alone is difficult, but quite real.
Note
The Assembly manual-in closets. When cutting the top rail, it is desirable to use a wood liner. The mounting rails (top and bottom) and door installation. 1. Secure the upper guide of the door of the wardrobe so that the front of the guide lies in the plane of the opening of the niche or the roof of the enclosure and does not protrude beyond its edges.
Useful advice
Step-by-step Assembly instructions of the wardrobe. Wardrobe- this is a great opportunity to maintain order in the house. It is roomy, functional and almost equal in size an ordinary corner or built-in closet. Cabinet door pulls on the rollers to the side, and it saves space in a small apartment. The price of the Cabinet Assembly is no different, but the functionality of it pretty quickly pay for.
