Instruction
1
Make sure that the printer is ready to use, i.e. it is included, supplied with paper and toner and attached to the computer through a network, LPT, or USB port.
2
Run the table editor, and then load the document you want to print. Click on the tab "print Layout" and with the help of controls placed in the command group "page setup" and "Enter" choose the most suitable margins, page orientation, print range and other settings. Click on the little icon in the right corner opposite the names of the groups of the commands opens the same window with more detailed settings.
3
Use ctrl + f2 to turn on the preview window and see the results change print settings. If you expect to print multiple pages on one side of each printed sheet, then click the icon in the right corner next to the name of the command group "Settings sheet" in the dialog box, select the sequence in which to print pages per sheet.
4
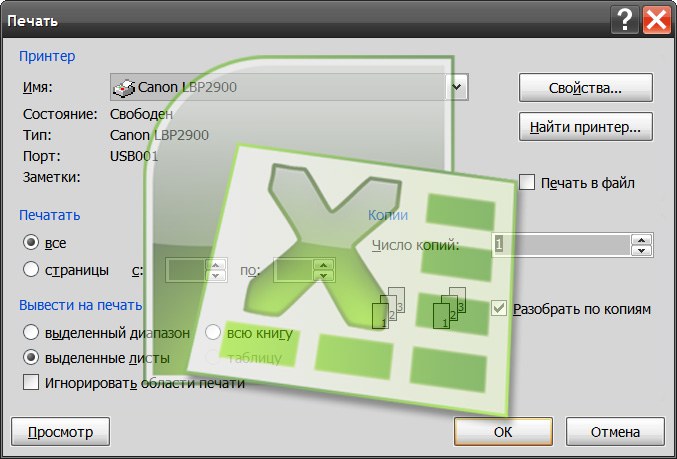
When the parameters of the placing tables on the page will be installed, press ctrl + p. In the section "print", check the box to "entire workbook" if you want to print with the selected settings of all sheets of the Excel document. If you assume that for tables in other worksheets, you will need other settings, leave the checkbox "selected sheets".
5
Change the value in the field "Number of copies" if you want to print several copies of the document. In the dropdown list of "Name" you can select another printer if the one who chose Excel, you are not satisfied. If the desired printer is not in this list, then find it using the dialog called with a click on the button "Find printer".
6
Click OK and Excel will put the document in the print queue of the printer.