You will need
- Instruction manual, sheet of paper, a set of screwdrivers.
Instruction
1
Read the user manual of your keyboard. If you can not find the manual in paper form, visit the website of the manufacturer of your keyboard. There you can find the user manual of your keyboard in electronic form. In it you will be able to find a diagram of the structure of your keyboard. With its help, you will be able to understand how to best disassemble your keyboard and find all of the invisible fasteners and bolts.
2
Also need to redraw the layout of the buttons, to further not confuse their places. To do this, take a sheet of paper, draw a scheme on the keyboard and apply marking all keys. You can also find this pattern online and print it on the printer.
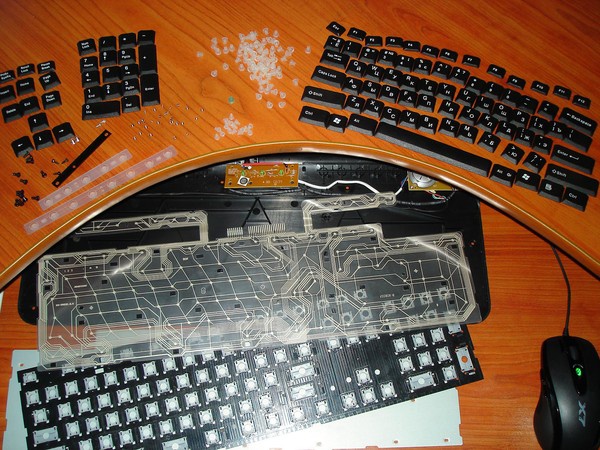
3
Flip the keyboard keys-down. Unscrew all the bolts. Also need to Unscrew the bolts that can be on the front part. After this, carefully open all clips and gently pull the back panel. It should be removed. After that, you need to remove two layers. Find a small socket with diodes. Usually it is secured with one small bolt. Unscrew it and disassemble.
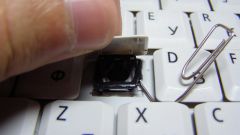
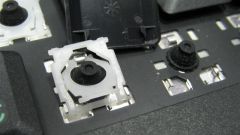
4
It is now necessary to proceed directly to the retrieval of keys themselves. If all the keys are sitting in separate nests, it is necessary to gently press a finger from the back side of the key. The latch will be compressed and the button released from the fastening. To do this procedure very slowly and carefully, so that unintentional movement is not required. If the blade is one-piece keys, you need to find the latch or bolt that it is attached to the body of the keyboard. Remove the bolt or open the latch and carefully remove from the grooves of the canvas. The Assembly of the keyboard must be performed in reverse order.