Instruction
1
To begin, make the setting on the server. Log on to the server using the administrator account or owner. Click on "start" then "control Panel", click on "Network and Internet connections" and select "Network connections". Right-click, select the connection that you want to use to access the Internet. Click the Properties tab, click Advanced, and make sure the "share Internet connection".
Now in the tab "Allow other network users to connect through this computer's Internet" check the box. In case you use remote access, check the box "Install on demand". Click OK, then click Yes.
Now in the tab "Allow other network users to connect through this computer's Internet" check the box. In case you use remote access, check the box "Install on demand". Click OK, then click Yes.
2
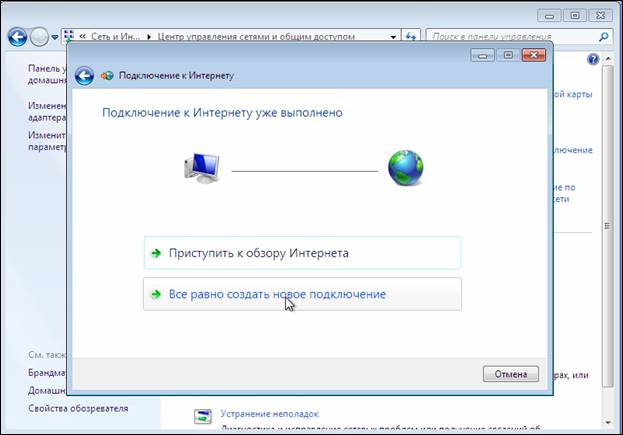
Proceed with the setup on the client computer. To connect to a computer using the shared connection, you need to check the IP settings for the network card local area network, and then configure the client computer. To check the IP settings, perform the following steps.
Go to the client computer using the administrator account or owner. Click "start" then "control Panel", select then select "Network and Internet connections", then select "Network connections". Right-click select "local area Connection" and then select the command "Properties".
In the "General" tab find the parameter "Internet Protocol (TCP/IP)", which is in the list "Components used by this connection". Click on the "Properties". Mark the item as "Obtain an IP address automatically".
3
Resolve any problems that may occur when connected via shared access. This can happen due to the fact that during the use of common access when Internet connection to a local network are most often assigned the IP address 192.168.0.1. To eliminate the conflict of addresses, configure the client computers to automatically obtain an IP address, or assign each a unique IP.