You will need
- program Font Creator;
- - Adobe Photoshop
Instruction
1
One of the most popular and easy programs to create a fontin Windows is Font Creator. Download and install the application.
2
Click the "Create new font" (for the English version – "New").
3
4
In the top row, select "Insert" ("Insert") – "Symbols" (Characters). In the line Fonts select font Arial or Times New Roman. Find the index of the first letter "A" fontand (if you plan to create a Russian font, respectively, "A", select Russian), which appears when you select character in the field Selected Character. Similarly, find the index of the letter "I" (or Z for English font.
5
In the field "Add these character, enter two numbers separated by the sign "-" (e.g., "$0310-$034F"). The template is ready.
6
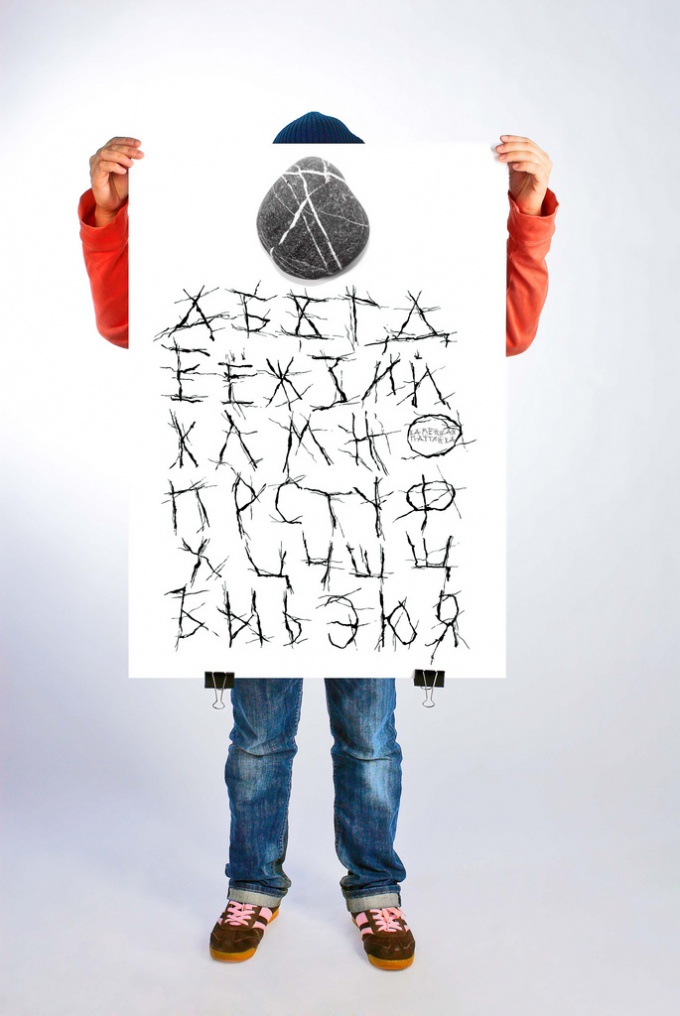
Draw in Photoshop own set of characters, save each letter as a separate graphic file. You can also draw the characters on paper, then scan, and save them in Photoshop as separate files.
7
Select in Font Creator matches the template symbol and click on "Import Image". Select "Load" and open the folder where you saved the letter.
8
Adjust the letters in the appropriate boxes (Threshold). After making all settings and import letters press "Generate".
9
Double click on the square with the letter. Adjust all the margins with the appropriate lines that will appear on the display (using the mouse). The bottom line is responsible for the regulation of maximum limit for letters with additional elements (C, y, z). The second bottom line will serve as a support for the letter. Third from the bottom is responsible for the height of the small letters and the fourth for the height of capital letters and digits. The fifth line indicates the line of the top edge of the row.
10
After the settings are saved and the font put it in the folder "C:WindowsFonts", then restart the computer. The font is painted and installed.
Note
Creating and rendering high-quality own font takes a lot of time.