You will need
- Digital photo
- Graphic editor Adobe Photoshop
Instruction
1
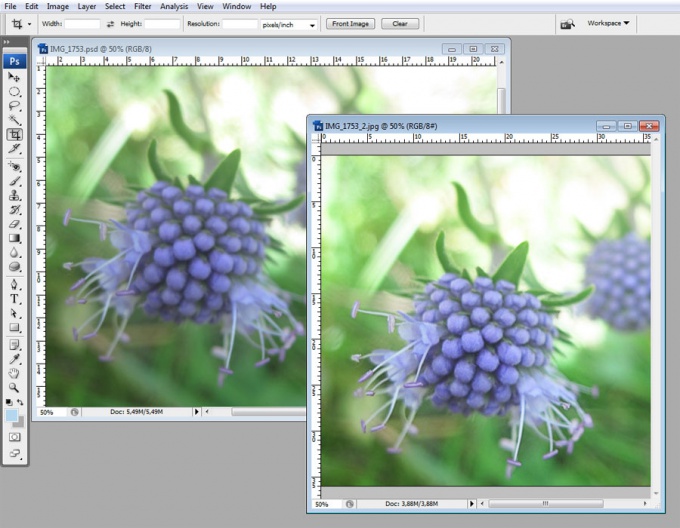
Open one of the not very clear photo in Adobe Photoshop using the menu "File – Open" or Ctrl+O.
2
Create a duplicate of the current layer by pressing Ctrl+J. press Shift+Ctrl+U will discolor the duplicate layer.
3
Select for this layer in the layers palette the blending mode to "Overlay".
4
Apply to the discolored layer of the filter "Other – HighPass".
5
With the help of the filter dialog box, find the optimal value of the parameter "Radius", evaluating the changes with photos. The checkbox near the "Preview" mode must be set.
6
The increase in clarity may be needed not all parts of the photo. In some places it will only cause the appearance of excess defects. Therefore, where sharpness is not needed, delete the adjustment layer tool "Eraser" (invoked by pressing E in the English layout).
7
If you want to increase the corrective effect, duplicate the discoloured layer with Ctrl+J. Adjust the transparency of the top layer until the result is not satisfactory.
8
Merge the layers with Ctrl+Shift+E. Adjust the brightness and contrast of the photos using the menu item "Image - Adjustments", which you prefer. The simplest of them is "Image – Adjustments - Brightness/Contrast".
9
Save the processed photos with a new name using the menu item "File – Save As" and compare it with the original before processing.
Note
Unfortunately, too much blurred photo correction can not be. Therefore, when taking pictures it is recommended to do several frames, so you can choose to process the best of them.
Do not forget to choose the right shooting modes.
Do not forget to choose the right shooting modes.
Useful advice
If the vagueness of the pictures are quite small, you can use the filter "Sharpen", located in the menu Filter – Sharpen - Sharpen".