You will need
- - Adobe Photoshop.
Instruction
1
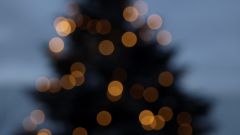
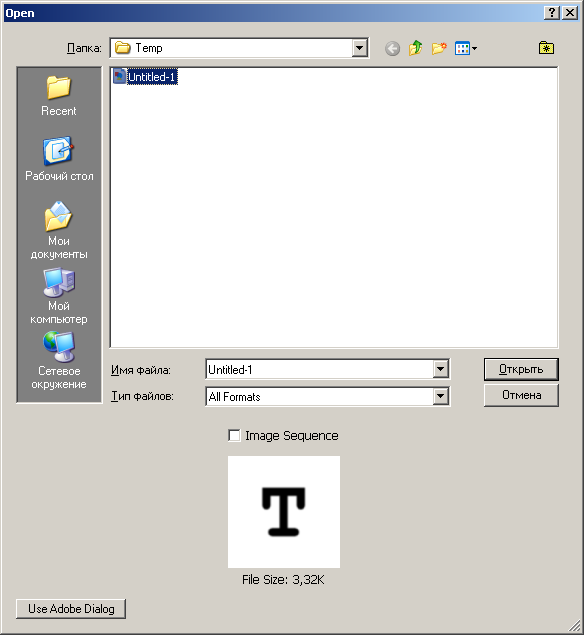
Upload an image containing the blurred area, which should be removed in Adobe Photoshop. On the keyboard press Ctrl+O or select "Open..." section of the File of the main application menu. In the Open dialog, open the directory with the desired file. Select it in the list. Click on the "Open"button.
2
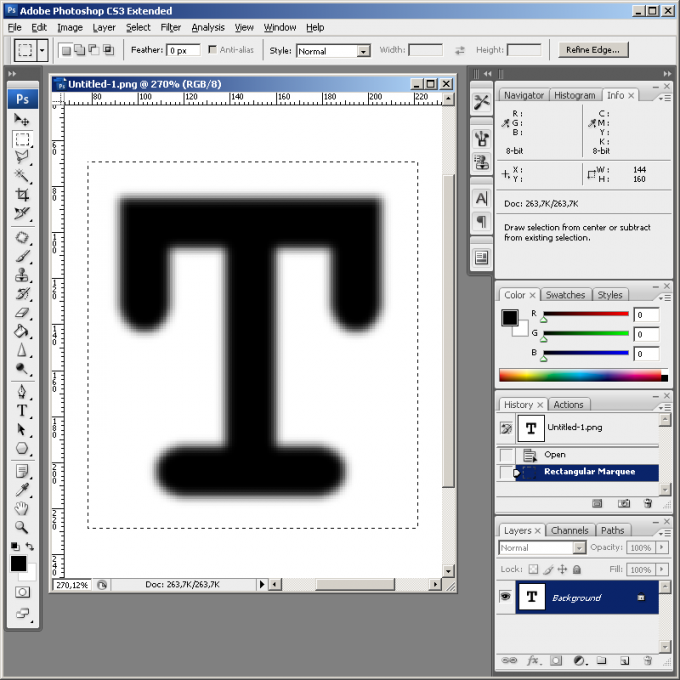
Prepare to work. Install a convenient magnification tool and Zoom Tool or by entering exact values in the text box located in the status bar. If you want to remove blurring only a portion of an image without affecting other parts, create around the marquee.
3
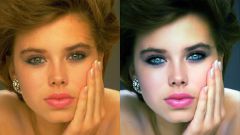
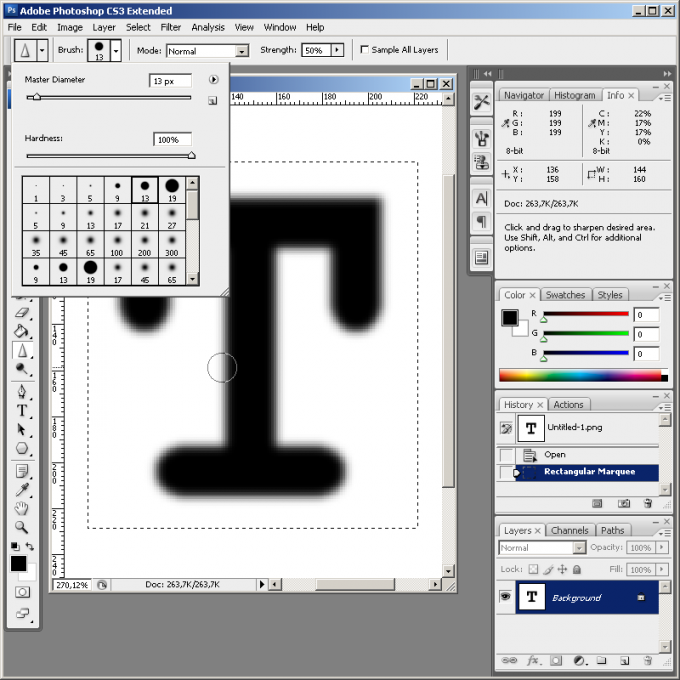
Use the tool Sharpen Tool for fine-tuning a small slightly fuzzy areas. Activate it, and then select the brush diameter and hardness, clicking the control a Brush in the top panel. Brush over the blurry parts of the image to achieve the desired result.
4
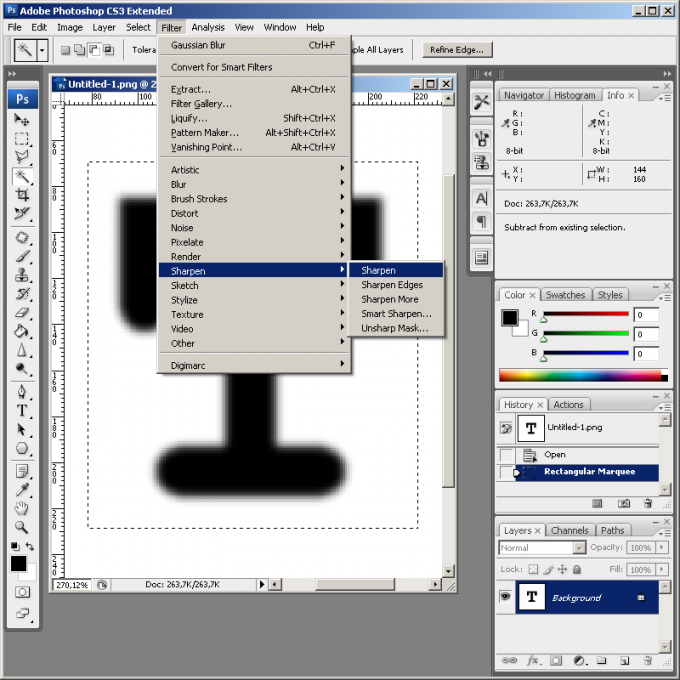
Use one of the simple filters sharpening. In the Filter section of the main menu, click Sharpen. Select Sharpen, Sharpen More or Sharpen Edges. The first two filter increase the sharpness of the entire image (with Sharpen More makes it to a greater extent) and the last one at the boundaries of dissimilar regions.
5
Loosen the action of the applied filter sharpening, if the effect is too strong. Press Ctrl+Shift+F or select in menu Edit and Fade. Reduce the Opacity value in the popup dialog and click OK.

6
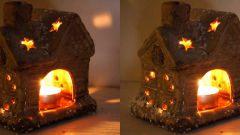
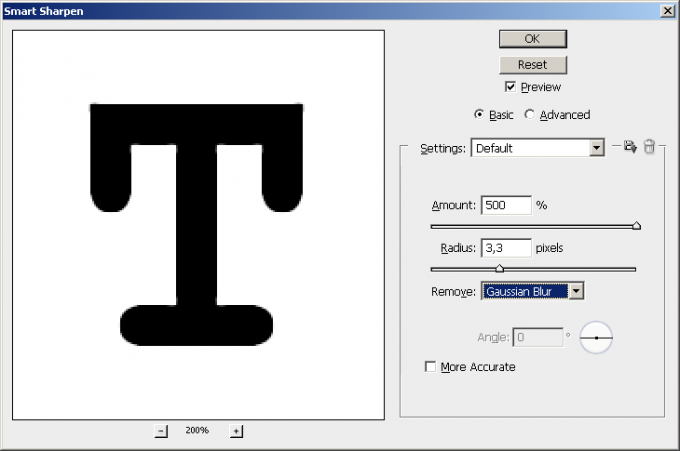
Use the filter Smart Sharpen to remove motion blur of a known type. Select the corresponding item Sharpen Filter menu. Displays the settings dialog box work. In the drop-down list to Remove, specify the type of blur (e.g. Motion Blur, if it is caused by subject movement). Pick up the values of Amount, Radius and Angle (if necessary) so that the image was as clear as possible. Press the OK button.
7
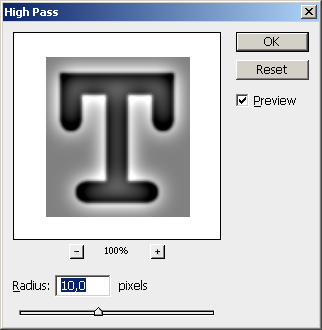
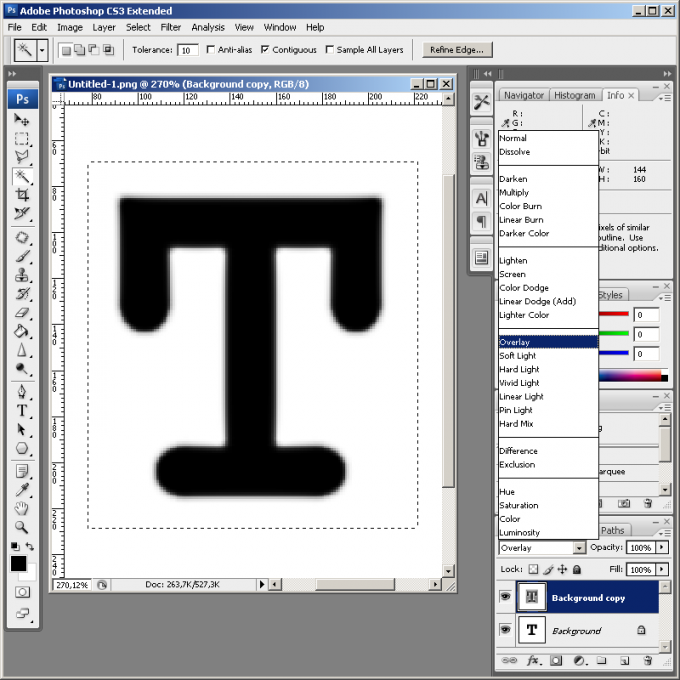
Get down to the removal of blur with overlay a copy of the image processed by the High Pass filter. Duplicate the current layer. Select in menu Layer and "Duplicate Layer...". Click OK in the dialog that appears. Select in the menu Filter, and Other "High Pass...". In the Radius box, set a value slightly larger width regions of blurring. Click OK.
8
Change the blending mode of the layer with the image to which the filter was applied. Click the drop-down list in the Layers panel. Select Overlay.
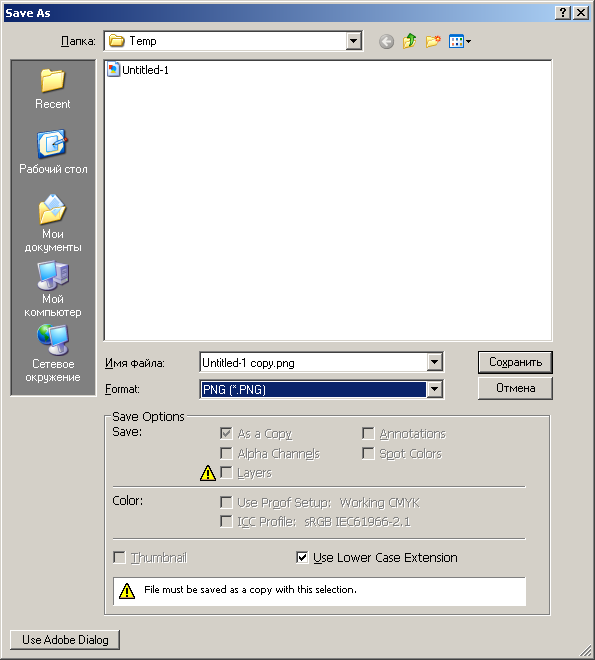
9
Save the processed image. Press Ctrl+S if you want to overwrite the original file. Press Ctrl+Shift+S if you want to keep a copy. In the second case, enter a new file name, specify its type and the storage directory, click the "Save"button.