Instruction
1
To replenish the stamp ink, first pressure, approximately 1 cm, upper part. Press the two buttons located on the side of the stamp. Buttons can be round or square, and also highlighted in a different color from all stampand. When pressed, the stamp needs to be readily released. If necessary, pull it with your fingers. Gently press down on the ink pad. Push it to one side, if you're push, push in the other direction.
2
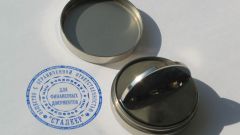
Stamp pad is located off the buttons. Completely pull out the ink pad and place it on a flat surface, protecting from capaccioni sheet of paper. Dampen the ink pad with blueberries. Quite ten drops. Put the ink pad back into the stamp. You should then put pressure on the stamp as long as the button holding will not rise to its usual position. Stamp pad should be placed before the specified lock-up line. Then slide padlock to secure the pillow. This castle is located on one side of the stamp.
3
On some models stamps lock and line lock can be highlighted in a different color. In this case, the ink pad pull until it clicks. The pad itself is also different in color, which greatly facilitates its detection.
4
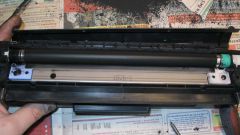
For ease of extracting some models in the lower part of the stampAh is a round slot for the thumb. In each of the sumps, that is, circular areas on each end of the stampand put 10 drops of ink. Touch the nozzle of the ponds to ensure sufficient and equal amount of ink of each region. In the case of overflow, wipe off excess with a damp cloth. Push down on the ink pad to put her on the same place.
5
After filling any model stampand wait 15 minutes to make a stamp. After the specified time, make a test print on a plain sheet to test the quality of the filling.