You will need
- - setting for photographing the object;
- helium-neon laser;
- photographic apparatus;
- developer for photographic film;
- - bleach;
- - green lantern;
- household dryer;
- - overhead projector or flashlight.
Instruction
1
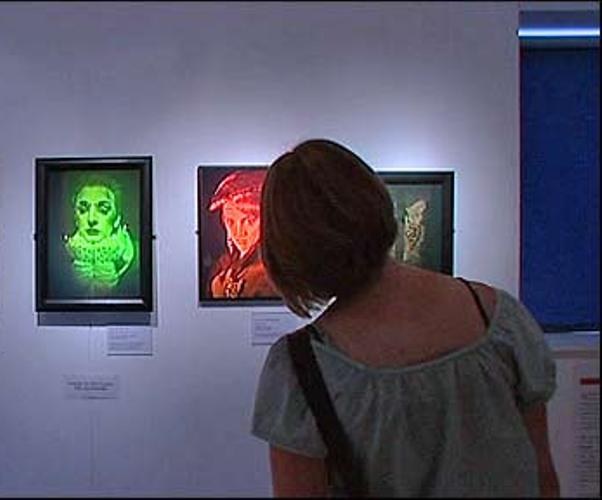
Review the principles of obtaining holographic images. Hologram – a kind of the interference pattern generated by two light beams aimed at the object from different sides. The beams must come from the same source, but have a fixed phase difference.
2
For making holograms at home, use special laboratory photostroika or fabricate her own hands. On the main frame and fasten rectangular frame made of tubes with a square cross-section. Install the frame on a solid sheet of plywood, ensuring the stability of the entire structure. On the additional handset, place the photographed object.
3
The main detail of the installation – optical bench having a length of about half a meter. It install two holders for pins that will screws into the frame lenses. Use a biconcave lens with a focal length of 30 mm. Optical bench color black Matt paint.
4
The assembled system is put on a stable base or Desk. To reduce the harmful vibration under the legs of the table, place the cans of coffee, pre-filling them partially loose material.
5
Take a white sheet of paper and cut it the size of the film. Place the paper on the glass, inserted in the holding frame. Adjust lenses so that their centers were aligned with the center of the paper.
6
Use a hologram of the helium-neon laser with output power of 5 mW. Turn on the laser and adjust its height. The laser beam should uniformly illuminate the paper. Adjusting the elements of the system, secure the optical bench to the base, noting the position holders.
7
Produce photography of the object from which you make the hologram. The exposure time is determined by the sensitivity of the film and can range from fractions of a second to several seconds. During the production of the picture the whole structure needs to be completely still because any vibration will distort the interference pattern.
8
Treat the film in a fine grain developer, and then in the bleach mixture. Whitening allows you to make the hologram more light. Whitening prepare a mixture of 30 g of potassium bromide, 30 g of iron sulfate and 900 ml of water. After mixing powders of dilute bleach to 1000 ml.
9
Film development spend during a green light. Except for green lantern, you will also need a regular hair dryer to dry hair-adjustable airflow rate. Use a Hairdryer on the stage of the final drying of photographic materials. After development, bleaching and drying you will get a hologram of an object, which can be viewed in ordinary white light, for example, using the overhead projector or flashlight.
