Instruction
1
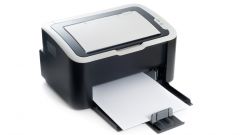
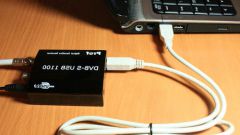
If you install a new printer, you must first remove from the surface all the shipping straps, they have a yellow or orange color. Connect the printer to the mains, turn it on, install ink cartridge that comes in the kit, and then turn off. Using the USB cable (you may have to purchase separately) connect the printer to the computer.
2
After turning on the printer, in the tray (lower right corner of the screen) a message will appear stating that Windows found new hardware. The window "found new hardware Wizard". Insert the driver disk, select "install the software Automatically" and click "Next". The software is found and installed automatically.
3
If the "found new hardware Wizard" does not start automatically, install the drivers in another way. Open "Printers and faxes", select "Install printer" in the left part of the window will launch the "add printer Wizard". Select "Local printer attached to this computer", also check "Automatically detect and install my PnPprinter", click "Next". The printer is detected, the software will be installed.
To install the drivers directly from the disk, to do this, select the appropriate item in the autorun menu.
To install the drivers directly from the disk, to do this, select the appropriate item in the autorun menu.
4
Go to the main menu "start" and select "control Panel". Go to "Printers and faxes". In the context menu of an installed printer, click "Properties", click "Test print" and check the operation of the device.
Similarly, installing the MFP (Multifunction device), additionally install drivers for the scanner.
Similarly, installing the MFP (Multifunction device), additionally install drivers for the scanner.