Instruction
1
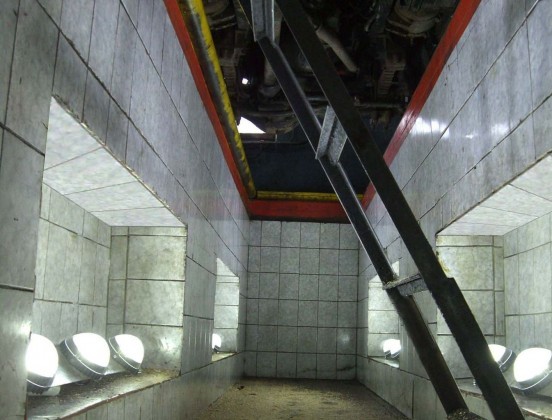
First you need to tell about the size of an inspection pit. Begin to build a viewing hole with the digging of the pit. In this question you need to be especially careful. It is necessary to consider options for the future of the pit, and also the thickness of the walls and floor. For example, if a viewing hole has a width on the project 80 inches, and a depth of 170 centimeters, its width should be no more than 120 centimeters. You also need to consider the thickness of the walls, which will be about 20 centimeters. In the end, the depth of the pit is 190 centimeters.
2
After the pit dug, you are ready to pour. First, you need to seal the bottom of the pit. This can be compacted gravel in several layers. Sand mound must be more than 10 inches. If the soil has high humidity, the bottom of the pit you need to start to cover with clay. The clay should be compacted. Clay is poured on top of gravel. The layer of gravel need to cover with a layer of sand about 5 inches thick.
3
After that, proceed to the preparation of walls for future inspection pit. Clay you need to treat the wall of the pit. Thus, create clay castles, which will keep the water in the pit. Then engaged in the creation of waterproofing the bottom. This will require a plastic film. Next, you need to concrete the bottom of an inspection pit. The concrete layer must not exceed 10 centimeters.
4
Wait, when there will be a full solidification of the floor and set the formwork around the perimeter of the future pit walls. The walls of the pit need to be strengthened reinforcement. After that, they will be more reliable. Using rendered anchors in formwork on the level garage floor, you must install a metal frame. Poured between the shuttering and the wall of the pit concrete. It need to be compacted. Pit ready.


