Instruction
1
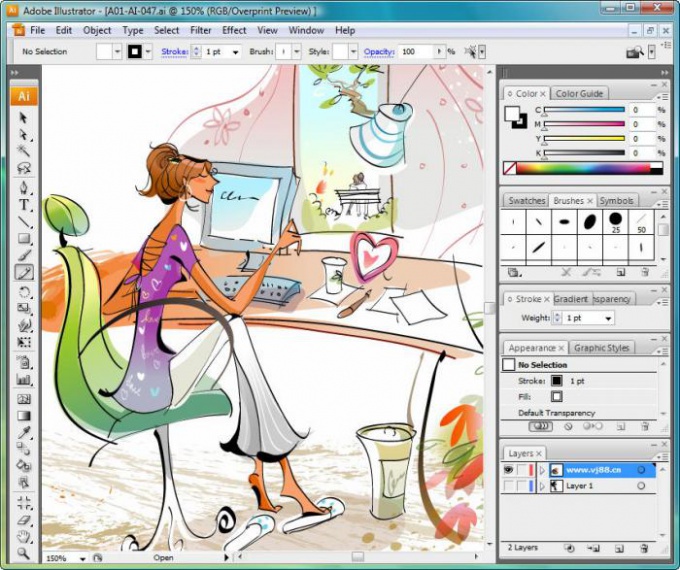
Upload the photo into the program and place it on the first layer, using File>Place. Open the layer settings (Layer Options) and the value of Dim Images set at 30%. Lock the layer with the photo.
Create another layer and hold down Ctrl, click on the icon with the image of the eye.
Create another layer and hold down Ctrl, click on the icon with the image of the eye.
2
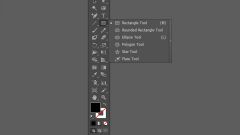
On the toolbar, select the Pen Tool (the pen tool) and on top of the previous layer carefully start to trace the basic contours and characteristics of the persondepicted in the photograph.
3
For greatest accuracy in the figure must be elements of light and shadow. Mark the contour of the shadow areas of your picture and copy it so that he was on top of the contour path on the face.
4
Select the copied and the new path and then open Pathfinder and, while holding Alt, click on Intersect shape areas. Continue to outline the contours of the photo on a new layer and using the same method to create the path for shadow areas.
5
After all the figure in the photograph, including details of clothing and facial features will be drawn, start shading the drawing color. To start, take the base flesh tone and paint the face. Then the outline prepared for a shady area, cover with gradient tint slightly darker than the base color.
6
In the settings of the gradient, set the blending mode to Multiply. For the rest of the shadow areas of the copy created by the gradient tool Eyeper Tool (pipette). Work through the remaining circuits of the shadows, and then draw the shadow of the lips and eyes a different color.
7
For staining of the body also copy the dropper tool gradient fill. Work through the shadow realm and move on to drawing hair, be adjusted to is ready gradient. Do the same with clothes.
8
Detail the hairstyle of the person in the picture – add more details, give your hair voluminous texture, draw the light and dark strands. Add some detail to the dress and appearance of the person in the photo and your drawing will be ready.