You will need
- Screwdriver set, keys for removing the radio adapter.
Instruction
1
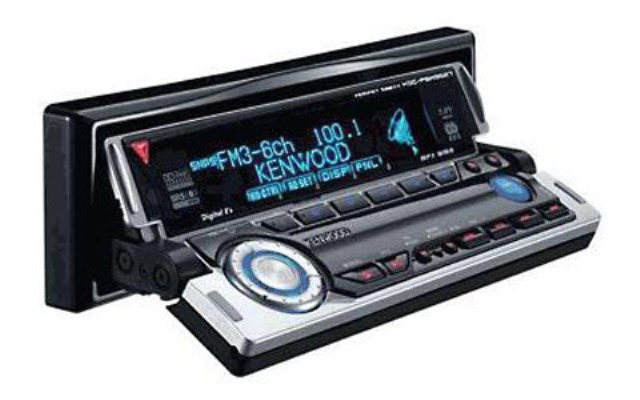
The first thing you need to do when choosing a radio shop check it for completeness. If the radio is a different brand than what you have now, pay attention to the presence of the adapter included with the connector of the head unit to a standard ISO connector – two wide, two row contact, on the radio, the connectors may be different, depending on the manufacturer (SONY, Kenwood, etc.). Check with the seller, you do not need any additional adapters, telling him the make, model and year of your car, it is in particular relate to the cars of foreign production.
2
Broad bought, you can proceed to replace. Removal and installation performed when the ignition is off. To remove from the slot the old radio with a special key that came with radio when purchased. The keys to the new radio may not fit, so remember, where is the box or documentation for the old reciever, the keys are likely there. Before you insert the key remove the outer frame and the front panel of the radio. Inserting keys on the side of the head unit to full-length pull, slightly reducing the keys to each other, with the keys out the radio.
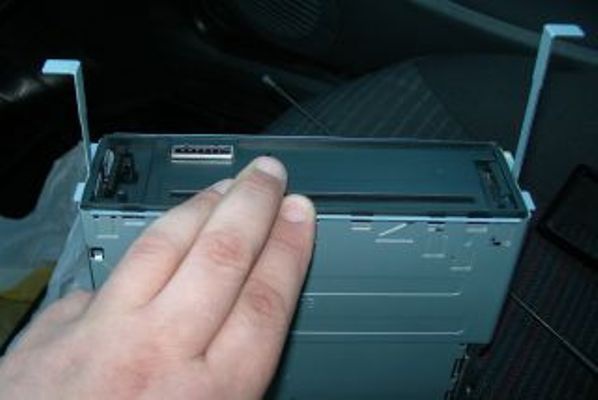
3
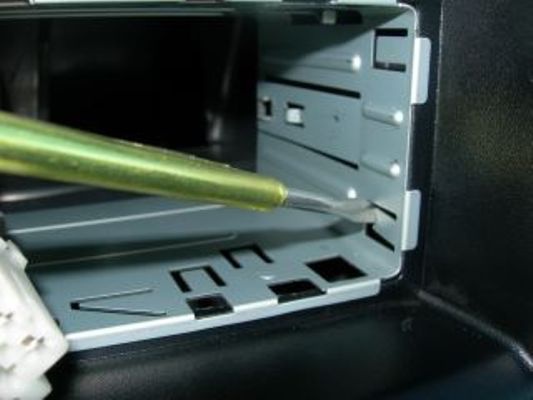
Here you go. Not in a hurry to disconnect the wire, they can fall over the center panel, pull them out with a rubber band or a long wire which will stay outside, they can now disconnect. Remember which wire to which connector was connected to the radio. Now remove from the slot frame for installation of a radio, it can be just pressed petals that need to bend or screwed with bolts or screws (they need to be carefully Unscrew).
4
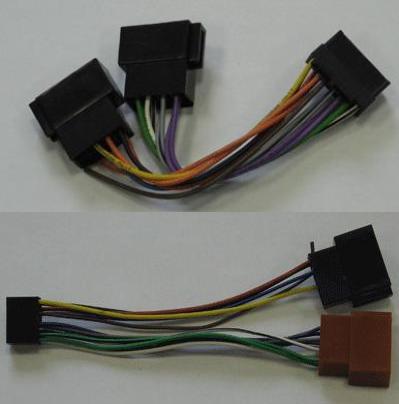
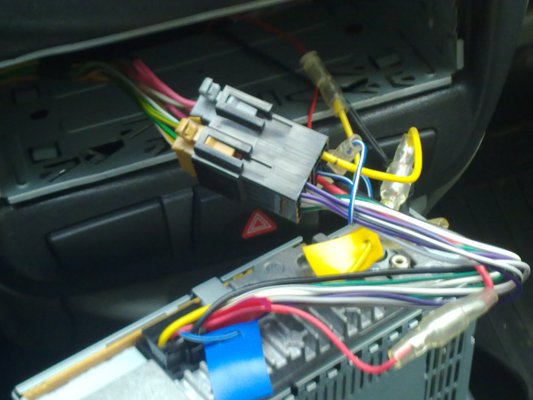
Prepare the new radio, remove the cover frame and connect the adaptor to ISO connector. Skipping into the frame from the vehicle connecting wire, install it in the socket for radio, securing the same. Check hand the reliability of the installation frame. Now you can start attaching the harness to the radio. Connect ISO connector, antenna wire, additional wire, if any. Connectors for antenna standard and a number have a corresponding icon, as well as other connectors are not included in the ISO connector.
5
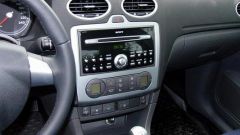
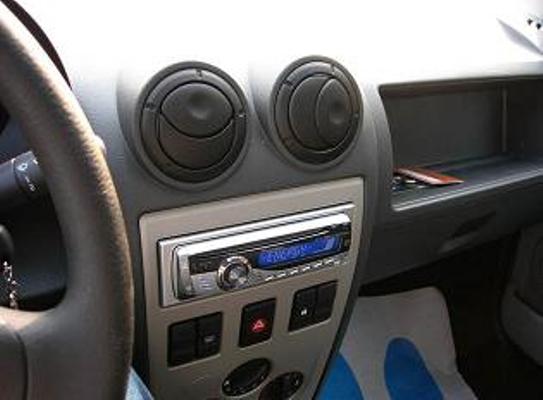
After all the wires attached, you need to check the connection. Attach the faceplate to the unit, and insert it into the slot until the middle of the body. Turn on the radio, if the backlight lights up, it means the power to the radio goes. Turn on radio and tune to any station after the beginning of broadcast radio, listen to each speaker separately, they all should work. The receiving radio also means that the antenna is intact and connected correctly. Then test the radio to play audio from disk, and plasmocytes if there is a USB connector. Now unplug the radio, remove the front panel and force the two hands attached to the sides of the front part to the back of the radio until it clicks into the frame. Install the front panel and outer frame. Now you can fully enjoy high quality sound.
Note
When connecting the radio don't forget her "grounded", the transaction is screwed a bolt on the chassis of the recorder, so you get rid of many problems when it is working.
Useful advice
Sometimes one spetsslujbami the radio not to pull out, inserting the keys gently try to pry the top or bottom of the radio with a thin slotted screwdriver. Unplug the old radio, not in a hurry to remove the frame, maybe a new radio will stand up in it without having to be replaced.