You will need
- - screwdriver;
- - fluorescent paint;
- lamp or flashlight with UV light;
- - the ohmmeter.
Instruction
1
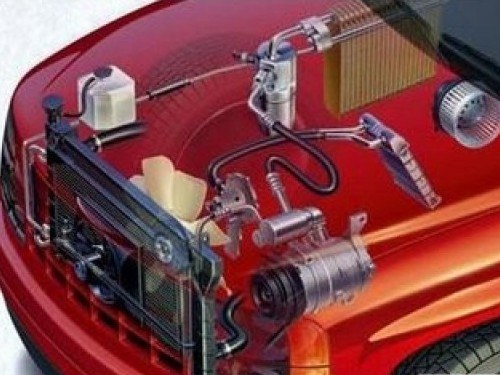
Identify problems in the compressor. First check their fuses, replace them, tighten up the bolts. Sometimes this is enough for the compressor to work again. If the fuses are all OK, continue Troubleshooting.
2
Check the wires leading to the compressor, securing contacts, the tension of the drive belt of the compressor may be damaged. Replace your damaged or halter strap.
3
Check the electromagnetic clutch in the following way. Identify first if there's any grease on nainom disk and the rotor, inspect the clutch bearings for noise and grease leakage. Measure coil resistance using an ohmmeter. Replace it if the resistance is above or below desired.
4
If the compressor is very noisy, it means that the failed bearing is a drive pulley. Replace it with a new, not forgetting to use a special grease. Check the drive pulley and clutch, and change them when a fault is detected.
5
Test the refrigerant compressor for leaks. This can be done using fluorescent paint. Buy a bag of the paint in any shop. Add it through the hole of low pressure, which is located on the canister of the air conditioner in the car. Wait for a while.
6
Inspect the compressor and the air conditioner with UV lamp - light. In case of leakage, will identify what has been leaked. It may be mechanical damage to the compressor, the refrigerant lines or the destruction of their walls due to corrosion.
7
Appreciate the opportunity to rectify the damage. If you decided to "patch up", keep in mind that this can only be done with the use of special equipment ("spray" or welding). Fill the compressor after repair of damage by using the acquired set for the filling of the air conditioner.
8
If you have checked the compressor, identified problems in his work, corrected it, but it did not help, then you should seek help from professionals of the service center to resolve the issue of its repair or replacement.


