Instruction
1
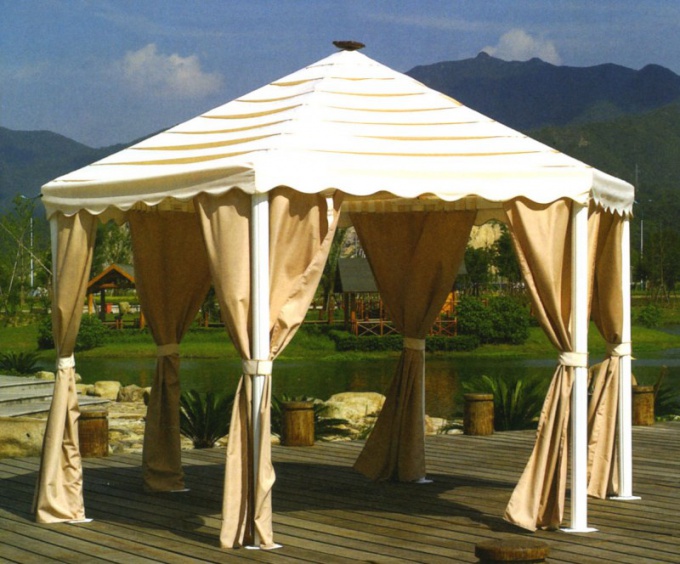
Select the material for the frame. The modern market offers a wide range of construction materials that you can use to make the frame for the awning. It's wooden beams, aluminum pipe, metal fittings in the corners, and the like. The simplest thing you can use as awning is a special stand with mounting system.
2
Mark the area over which is stretched an awning. Pegs note locations for racks. Dig to place a peg pit depth of not less than half a meter, insert them in racks, which will be assigned to the fixing element. Fill the pit with wet earth (if the construction lasts for a long time, it is possible to fill with cement) and tamp well.
3
Leave stand for a day and then proceed with the installation of crossbars. Install the side clips on the rack and insert them alternately in the guide. Here, you'll need help, otherwise there is a risk that the design will just fall under its own weight.
4
Pinch the guides at the centre of the structure and secure them with the mounting element ("centrovia"). If the Central element is not provided by the design of the awning, simply attach the guides at the corners. Tighten the fasteners. You got the rack, sealed the cantrail. Check the reliability of the design and stretch fabric.
5
Carport you can make from polycarbonate, but in this case, the frame is manufacture by 10-15 cm less than the size of the stacked sheet, and as a material for racks take the aluminum. If the awning you need a rounded shape, use metal profiles. Mount them on stands with the corners and bolts, and polycarbonate prisverlivaem on the screws.
6
For awnings in the form of arches use a long metal profiles. Kopite one end of the profile in the ground and carefully strengthen it up there under an angle of 45 degrees. The second end kopite in the prearranged place. Happens arch. For stability use the side stand support height in meter and a half. Please note that you will need at least 4 profiles, otherwise the awning will be shaky.