You will need
- - soft leather or suede uppers;
- - thick cotton thread;
- - saddlery needle;
- - boot knife;
- a small Board;
- - cardboard;
- - graph paper;
- pencil;
- - the range.
Instruction
1
Manufacture any shoes start with patterns and sizing. Put your foot on a piece of cardboard and trace them. Don't forget that the pencil should keep strictly vertically. Cut out the pattern. Note figures 1 and 2 the most convex point of the heel and the sock. Put the drawing on a sheet of graph paper so that the point 1 was at the intersection of two thick lines and point 2 is one of them. So it will be easier to do the calculations. On graph paper, too, mark the points 1 and 2.
2
Measure and record the girth of the instep. Designate this distance as L. we Divide this measure in half and also write. Add to half of the 1.2-1.5 cm From point 1 by a thick line set aside in both directions the distance equal to half the distance L with add on to her allowance. Dot 3 and 4. Smooth curves connect them with point 2.
3
Measure the distance between points 1 and 2 along the contour of the sole on both sides. This can be done using a measuring tape, aligning its end with one of these points and bent strictly on the slices. You can use durable thread or cord. Write down these measurements. Each of them aside from point 2 at the top of the details, but on the same side of the sole, by which they were measured. In this thread or the cm do not bend to the point 1, and continue the line and put it on the merc. One line will get longer and the other shorter. Dot 5 and 6. Connect them with smooth curves point 1. This will be the back seam.
4
Find the middle of the line 1-2. Build to that point in both directions perpendicular to the intersection with the contour. Measure this new line and find its middle. Check point 7. Connect it with point 1 in a straight line. Guide to point 7 perpendicular to the side of the middle line of the sole 5 cm Place the point 8. The same cut will postpone to the other side and put a point 9. Cut out the pattern top. Make pattern of the tongue. Its width of about 6 cm, the height can be 5-6. Round the top corners.
5
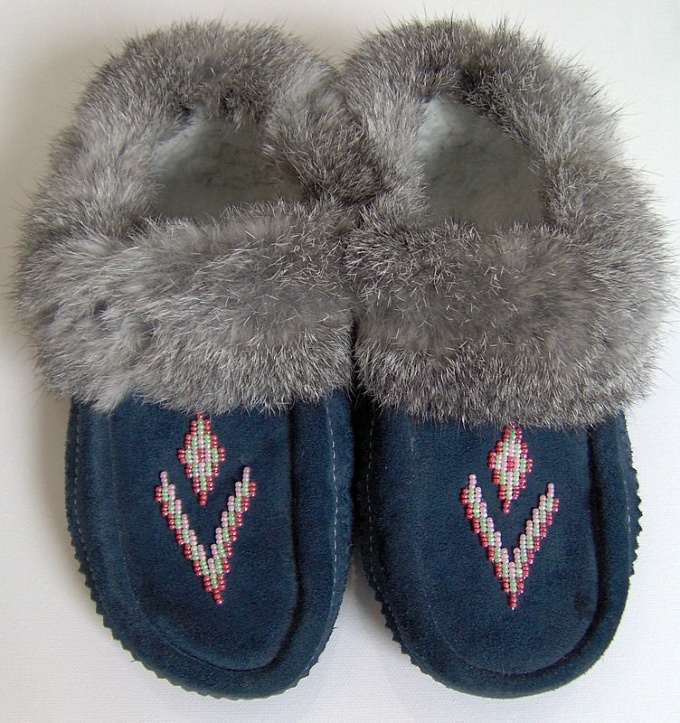
Put the pattern on the soles of rawhide, and the top and the tongue on the soft. Don't forget that loafers must be cut in mirror image. Moccasins can be decorated, e.g., by embroidery or by weaving straps at the top. Do it once, because after Assembly to embroider will be very uncomfortable.
6
Punch holes along the edge of the sole. Of course, you can do them as stitching, but it is not very convenient. Pierce holes with an awl. Enter it on the edge of the sole, leaving a distance of about 0.5 cm, rotate tool in the side cut. The edge of the top can not pre-pierced.
7
Align the toe of the sole and toe cap the top and make this place the first stitch. Both parts should be placed wrong side to each other. Sew the moccasin waxed cotton or linen thread. To wax it with a candle. Puncture wax candle with a needle and drag through the resulting hole thread.
8
Stitched moccasins from the sock to the heel from both sides, clip the thread and remove the product. Back seam perform on the reverse side. Sew the tongue, departing from the edges of the slit at 0.5 cm on each side. Punch holes and insert drawstring.
Useful advice
If you don't need a historical reconstruction of costume, but you want to sew just comfortable shoes, you can safely use modern materials.For example, for the soles ideal disused mouse pads.