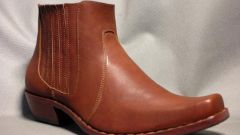
You will need
- - well-tanned leather uppers
- - thick leather for soles
- - felt
- - strong thread
- - the awl
- - two needles
- - universal glue
- - the tape
- - a few sheets of paper
- pencil
Instruction
1
Remove the measurements. You need to know the length feet, width feet, lifting height, the circumference of the leg via the heel and the highest point of the instep, the heel ledge, the width and height of the heel, the distance from the end of the thumb to the instep, the distance from the end of the big toe to the tibia, the height of the Shoe.Place your foot on a sheet of paper and draw around the foot. Cut out the pattern, departing from the line 5 mm.
2
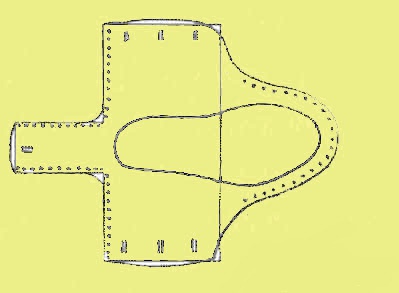
Make a scan. On another sheet of paper trace the template. Connect to the most convex point of the heel and the sock. This will be the Central line.Mark on it the distance from the end of the big toe to the Shin and slide through this point perpendicular in both directions. Mark the line of intersection of the perpendicular side sections of the pattern. This is the line of ascent. A parallel to her line back through the most convex point of the heel.From the intersection of the lines of ascent and sections of the insole put the height of the side walls.Aside from lift line 6 cm to the side of the sock on both sides of the insole and through these points trace the outline of the sock.
3
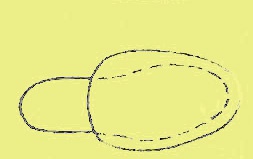
From the most convex point of the heel put the half of the width of the heel in one and in the other direction. From the same point put the height of the side walls. Draw a line parallel to the line of ascent.Calculate the nasal insert. To do this, trace the insole on a separate sheet. Measure the insole from the most convex part of the sock to the top of the rise. Aside from crossing the line of ascent each way 5-6 cm and through these points draw the bow.Tongue make in its sole discretion.Round all the angles and circle pattern on the outer line. Cut out the pattern and put it on the skin. Mark the line of the sole and the insole.The joints, select the points equally spaced. Pierce holes with an awl.
4
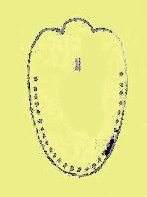
Mark the line of the sole and the insole. The joints, select the points equally spaced. Pierce holes with an awl.Decorate the insert. At the edges of the insert make the slot for the cord. Make the same slits in the top of the tongue.
5
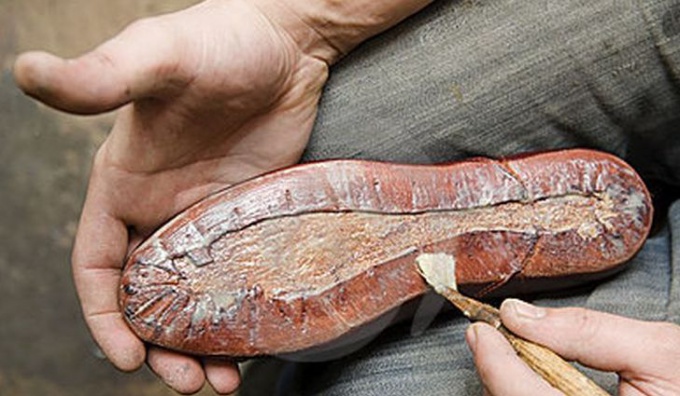
Thick skin will have plenty of sole. Felt take the insole.Place the sole on the outside of the insert and the insole on the inside.
Received item put under the press.
Received item put under the press.
6
Preberite thick waxed thread nose portion of the sweep. Try on the Shoe and tighten the thread. The ends of her tie strong knots. Sew the insert. Thread the cord and tie.
Note
Leather shoes you can sew by hand and on a typewriter. From household machines more suited to the old "singer" or "Podolsk".
Thick cotton threads, it is recommended to RUB with wax. These threads stitched shoes are much stronger than the rest.
If you are going to sew one pair of shoes – make or order a Shoe.
Thick cotton threads, it is recommended to RUB with wax. These threads stitched shoes are much stronger than the rest.
If you are going to sew one pair of shoes – make or order a Shoe.
Useful advice
As material you can use the tops of old boots. Is fine and dense fabrics, like denim.
For the soles as well to rubber.
If you sew the shoes for the first time, try to kick this pattern to sew Slippers from any unnecessary fabric.
Instead of the foot can be cut around the insole of the Shoe where you are comfortable.
Insertion it is recommended to sew over the edge. The edges of the Assembly remains outside.
Decorate the box you can applique, embossing or fur. Striped fur, you can also sew on top of the shoes.
The folds on the fore part of the Shoe should be located at a distance of 1-1,5 cm from each other.
