Instruction
1
Install at your work or home computer AutoCAD. There are many versions of this program, updates are released almost every year, but it is preferable to keep pace with the times and use the latest version (preferably multi-language), because the program has to add new features, and the design becomes more convenient.
2
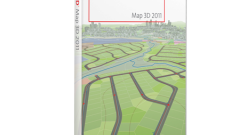
Select the project that are going to begin working in AutoCAD. Of course, you can take any textbook on designing in this program or use the help menu in the program. But the faster you learn to draw, working on their own project.
3
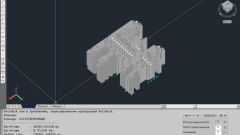
When you open a program, usually there is a window that and will be a field of your drawing. By default, the open file is saved under the name "Чертеж1.dwg". Name it with the name of your project. To do this, in menu "File" select "Save as...", select the folder where to store the file and its name. It is desirable to have a separate folder for drawings AutoCAD.
4
Carefully read the program menu. Not the superfluous will specify the types of lines will be drawn and the drawing. To do this, in the dropdown menu of "Format" to select "Layer..." and create several layers, putting the line color, type and thickness. In the future it will help you not to be confused with the dimensional and basic lines, and the drawing to a plotter or printer, the lines will be displayed in accordance with their thicknesses.
5
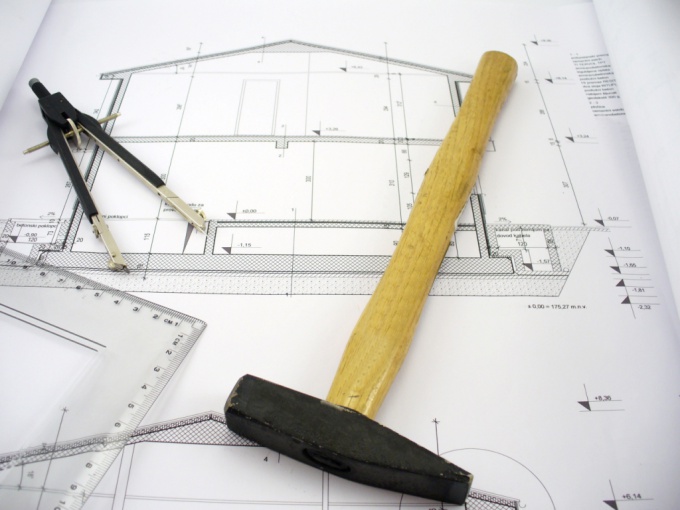
Start to implement the project. If you find it difficult to submit a drawing, try to start to sketch it on paper, and then gradually translate in the electronic form. Turn on the bottom toolbar of the bindings and the function "ORTHO". So it will be easier as most of the drawings of parts or Assembly units are drawn as line segments connected at right angles. In that case, if you want to cut, which is not perpendicular to any of the coordinate axes, simply disable the "ORTO" by clicking on it with the left mouse button.
6
Since a layout consists of lines, use the basic command "Section of the drawing toolbar. To do this, click on the icon with the image of the line segment, move the cursor into the drawing area and click the left mouse button. This will be the beginning of your cut. Next, move the cursor in any direction, click the left mouse button. You marked the end of the segment.
7
Now try to hover the mouse on any point of the received segment. On the cursor (which in the program is depicted usually in the form of a cross) icons appear in the bindings. With them, you will be able to construct perpendicular and parallel line segments. At the end point of your cut will also be depicted binding called "Kostochka", from this point draw a line on perpendicular to your cut. If you need to cancel the line command, simply press Esc.
8
Try to draw another type of line (arc or spline) by using the command panel drawing. For straightening, mirroring, lengthening or shortening cuts or ready-made objects use the commands panel "Edit".
9
Apply to drawing dimensions with the menu "Size". Most commonly used linear measurements, from point to point, placed in parallel to the coordinate axes.
10
If you have any questions use the help. In it you will find a user manual that explained the basic concepts AutoCAD basic operations and gives the command reference, as not all of the program operations can only be performed with the click of a mouse.